Why Are the Cats Purple? A Quick Art Mini Lesson That’s More Than Just Cute
Let me paint you a picture—literally and figuratively.
It started with me painting a big, goofy, purple cat just for fun. I’d seen a flood of them online, posted by artists all over the internet, and I thought, “Why not?” So I made one of my own. No deep meaning. No big masterplan. Just a bold little feline in purple stripes and a field of flowers.
But then that painting sat in my room, staring at me with those weirdly wise cat eyes like it knew it was destined for something more. And wouldn’t you know it—it sparked a whole mini lesson for my 5th graders. Because as it turns out, a purple cat is the perfect hook to get students drawing big, taking risks, and (bonus!) filling up the whole page.
If you’ve ever taught upper elementary, you know the struggle: you hand out a full sheet of paper, and they draw an image the size of a matchstick. I’ve seen cats so small they could fit in a thimble. So we took this lesson as an opportunity to go the opposite route—big, bold, and full of personality.
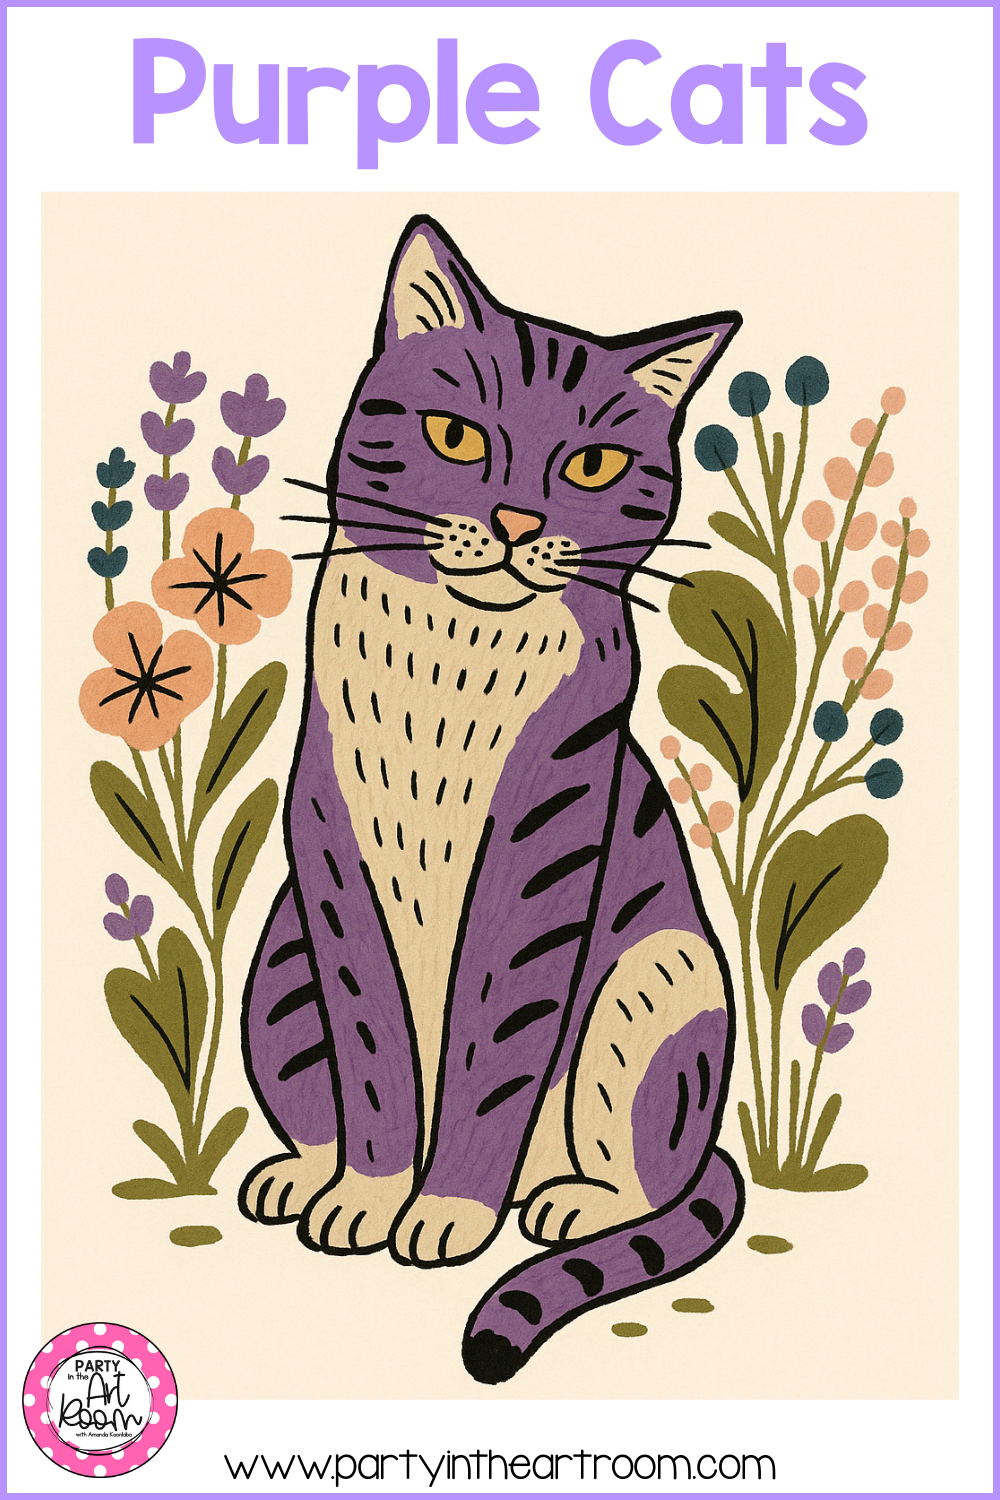
The goofy purple cat that sparked the whole lesson and showed students how fun it can be to draw big and take risks.
The Project: Big Cats, Big Ideas
This was a structured lesson with an open-ended twist. Yes, we followed a “how to draw a cat” example together. But no, it wasn’t a step-by-step-copy-me robot activity. I made sure there was room for creative decisions throughout—tail shape, facial expressions, flower arrangements, even the exact shade of purple (or not purple at all, if a student wanted to switch it up).
We spent a good chunk of time just practicing. Students used scrap paper to sketch their cats again and again until they felt confident. And let me tell you—watching them keep trying, erasing, adjusting, trying again? It was art teacher magic. That perseverance is worth more to me than any Pinterest-perfect final piece.
When they were ready, they transferred their drawings to white tagboard—nice and sturdy so the materials could really shine.
Here’s how we broke it down step-by-step:
● Step 1: Start with the basic head and body shape (an oval for the head and a tall shape for the body)
● Step 2: Add facial features—eyes, nose, mouth, and those whiskers that give each cat a little sass
● Step 3: Draw in the ears, paws, tail, and any extra details they want
● Step 4: Add color using colored pencil for the main image and watercolor in the background for that classic crayon + watercolor resist effect
Each student’s version turned out subtly different—even though we all started from the same structure — and I was super pleased with their results!
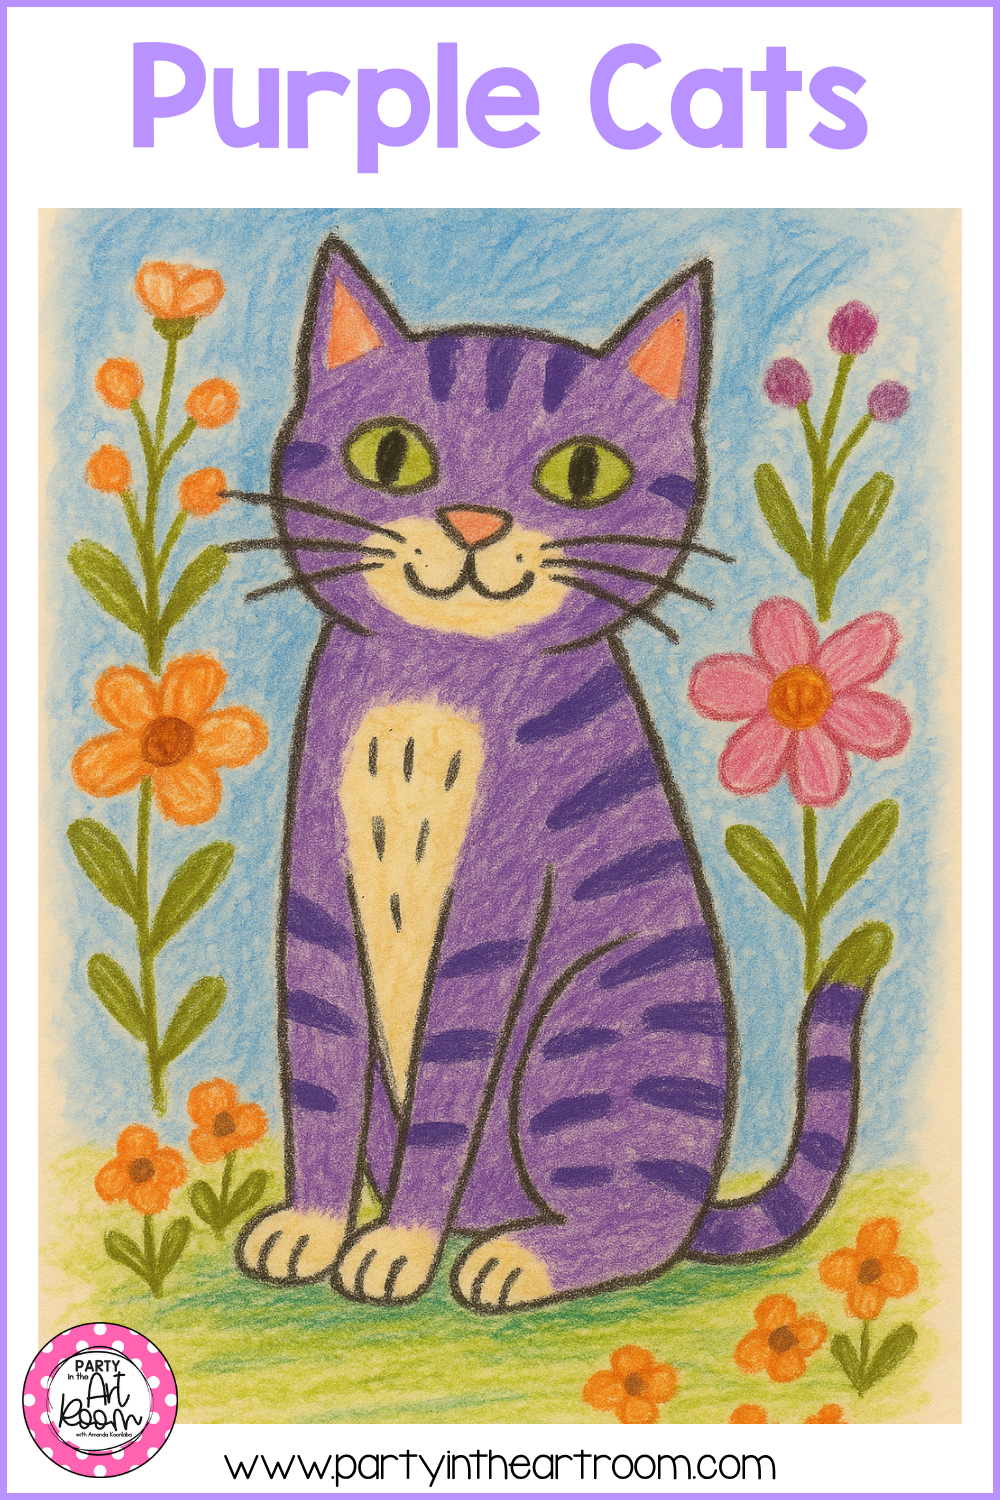
In each portrait, students use expressive color schemes and layered media to build contrast, texture, and personality.
Materials We Used
● Colored pencils for the details (those stripes had to pop!)
● Watercolors for the background (super light washes behind the flowers and grass)
● White tagboard, because flimsy paper and water do not mix, my friend (Here’s what I always use!)

This student example shows how practicing on scrap paper helped learners draw larger and more confidently.
● Oh, and lots of scrap paper for practice rounds—because reflection and revision were part of the plan

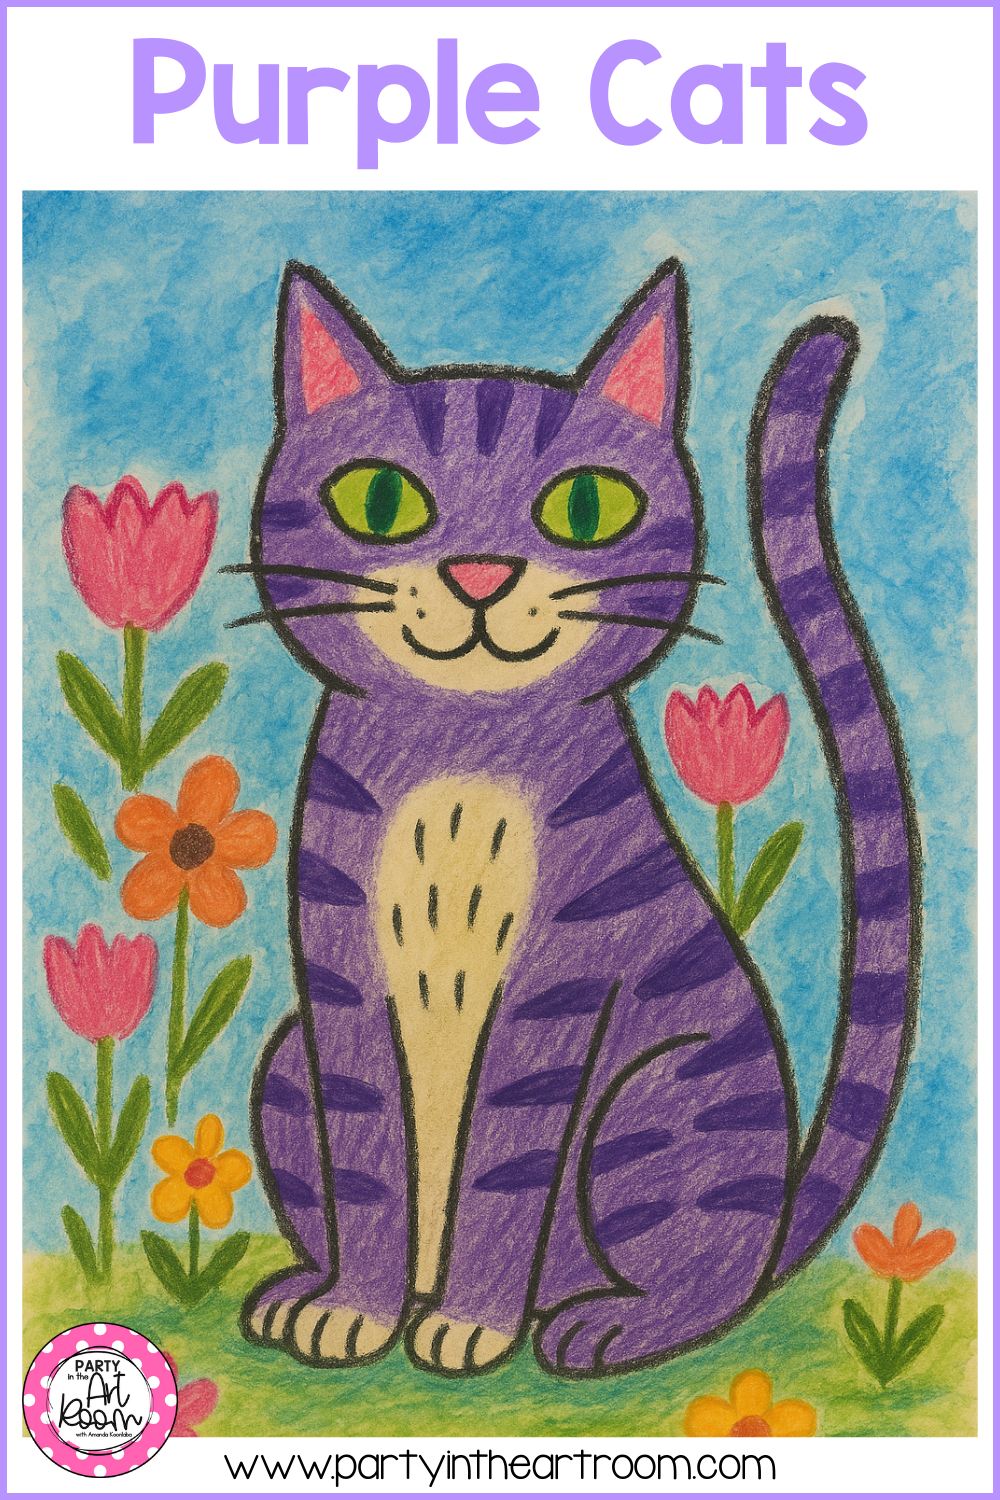
This drawing highlights how students learned to avoid tiny “jellybean cats” by filling the page with intentional shapes.
What We Were Really Teaching
Sure, the cats were adorable. But we were also working on some serious skills:
● Composition: Learning to fill the page in a way that feels intentional
● Scale and proportion: Not making the cat the size of a jellybean

This piece shows the crayon-and-watercolor resist effect students used to bring their backgrounds to life.
● Perseverance and revision: Drawing it wrong, drawing it again, and figuring out how to make it better
● Creative decision-making: Even within structure, students had so many little choices to make—and that’s what gave the artwork life
A playful example of how students added personality through tail shapes, flowers, and small design choices.
And honestly, it felt so good to see their confidence grow. The first few sketches were timid. But by the end? We had bold lines, playful designs, and students grinning at their work like proud cat parents.
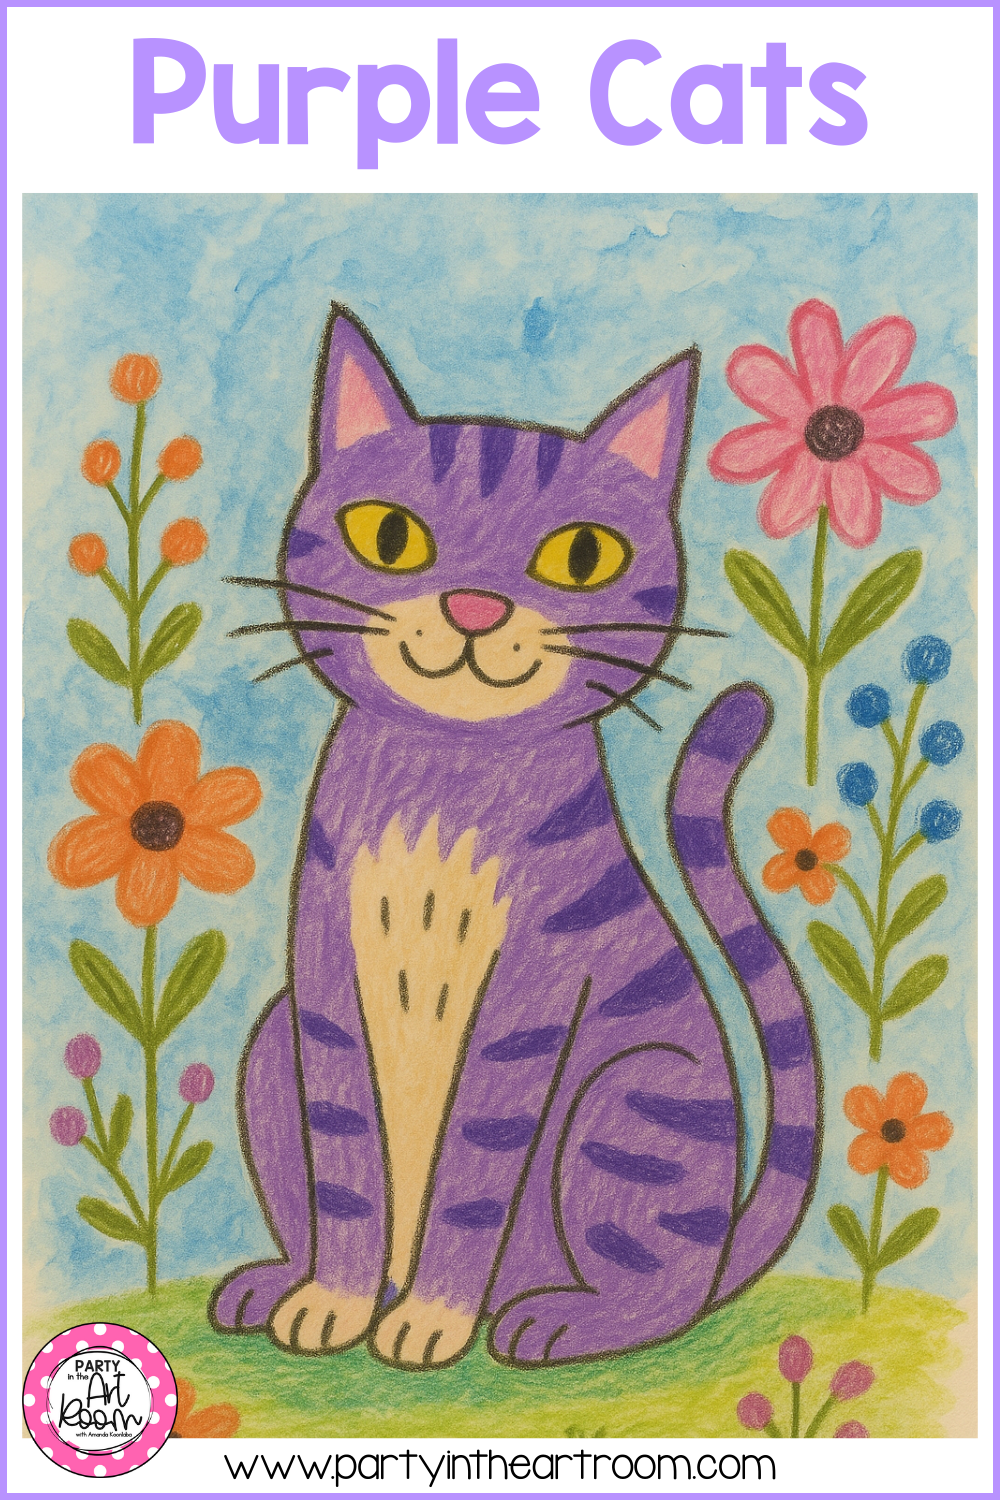
This bold cat shows how students grew braver with line work as they revised and redrew during practice.
Wanna Keep the Animal Art Vibes Going?
If you loved this idea and want more structured-but-open-ended animal art, I’ve got a classroom favorite to share. It’s not what we used here, but it fits the same spirit perfectly:
🎨 Henri Rousseau Animals Art Game Lesson — This one blends art history, drawing practice, and creative play all in one. I use it when I want students to feel successful but still have the freedom to make their art theirs.

Each final piece looked different, proving how much voice students brought to a simple guided prompt.
Final Thoughts: The Power of a Purple Cat
This lesson reminded me that sometimes the simplest prompts can go the deepest. A funny little cat drawing turned into a conversation about size, composition, artistic choices, and persistence.
It didn’t matter that the inspiration came from a silly internet trend. What mattered was what we did with it. We turned it into an opportunity for growth, self-expression, and a whole lot of smiling faces.
So the next time your students are drawing tiny and timid, maybe throw a purple cat at the problem. It worked for us.
You Might Also Be Interested In:
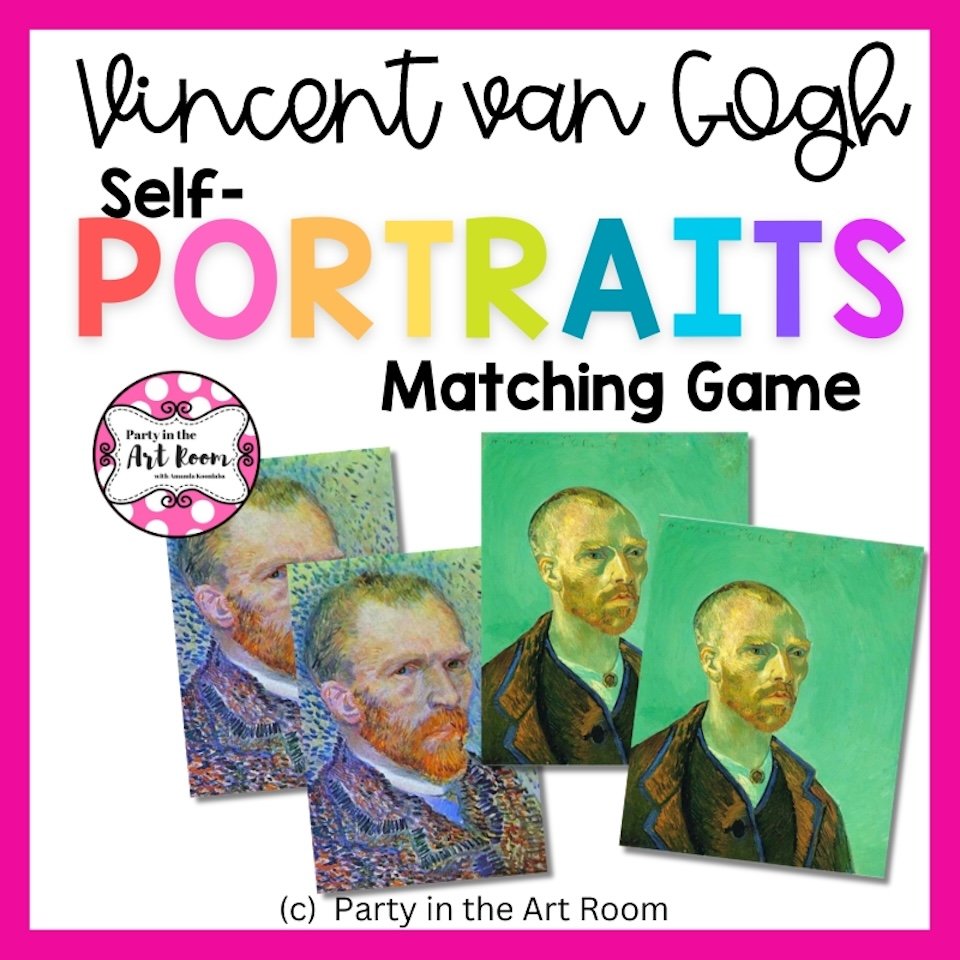
Inside this free PDF, you'll find a treasure trove of van Gogh's self-portraits, each capturing the essence of the artist's unique style and introspection. From his early works to his later masterpieces, this collection showcases the evolution of van Gogh's self-representation throughout his remarkable career.
As students pair the self-portraits, they will develop visual recognition skills, explore color and brushstroke techniques, and gain a deeper understanding of van Gogh's artistic journey.

Check out discounts, deals, and recommendations on all our artsy faves!
Affiliate Disclosure: Party in the Art Room is supported by its audience. When you purchase through links on this site, a commission may be earned.
Get to know Amanda Koonlaba!
Hi! I’m Amanda. Teaching children to be creative thinkers is my greatest joy. I’m here to help you bring that same joy to your classroom.

This guide is packed with 25 ideas for using art to teach math and ELA. It’s arts integration for the win!

I want all students to feel successful in the art room, so I created a standards-based Daffodil Collage lesson to do just that! The lesson includes an artist study, student reflection, and more, so push your artists to their full potential.


Are you planning an abstract art lesson inspired by Paul Klee? Are your students going to create abstract portraits? Here’s an engaging and vibrant lesson to enhance your curriculum! This resource is an ideal addition to your elementary art plans, bringing creativity and excitement to your classroom.