Lively Llamas and a Garden of Glue Caps: A Whimsical Recycled Art Project for Kids
There’s something magical about a llama with its eyes closed. Especially one surrounded by a garden full of handmade flowers — and, if you’re in an elementary art room, probably a few stray glue caps too. (It’s not a real garden, it’s just what the floor looks like after this project. You know the vibe.)
And honestly? That’s the kind of energy we all need in the art room sometimes — especially in the spring when students are bouncing off the walls and everyone’s running low on tissues, markers, and patience.
This lesson became an instant favorite in my upper elementary classroom. It gave students a chance to draw, paint, collage, and most importantly, bring a whole lot of personality to their artwork. It was also a sneaky way to talk about line, color, texture, and yes — even recycling — without turning the whole thing into a vocabulary quiz.
Let me walk you through how we made these llamas come to life, why it worked so well, and how you can totally pull this off in your own classroom or homeschool space.
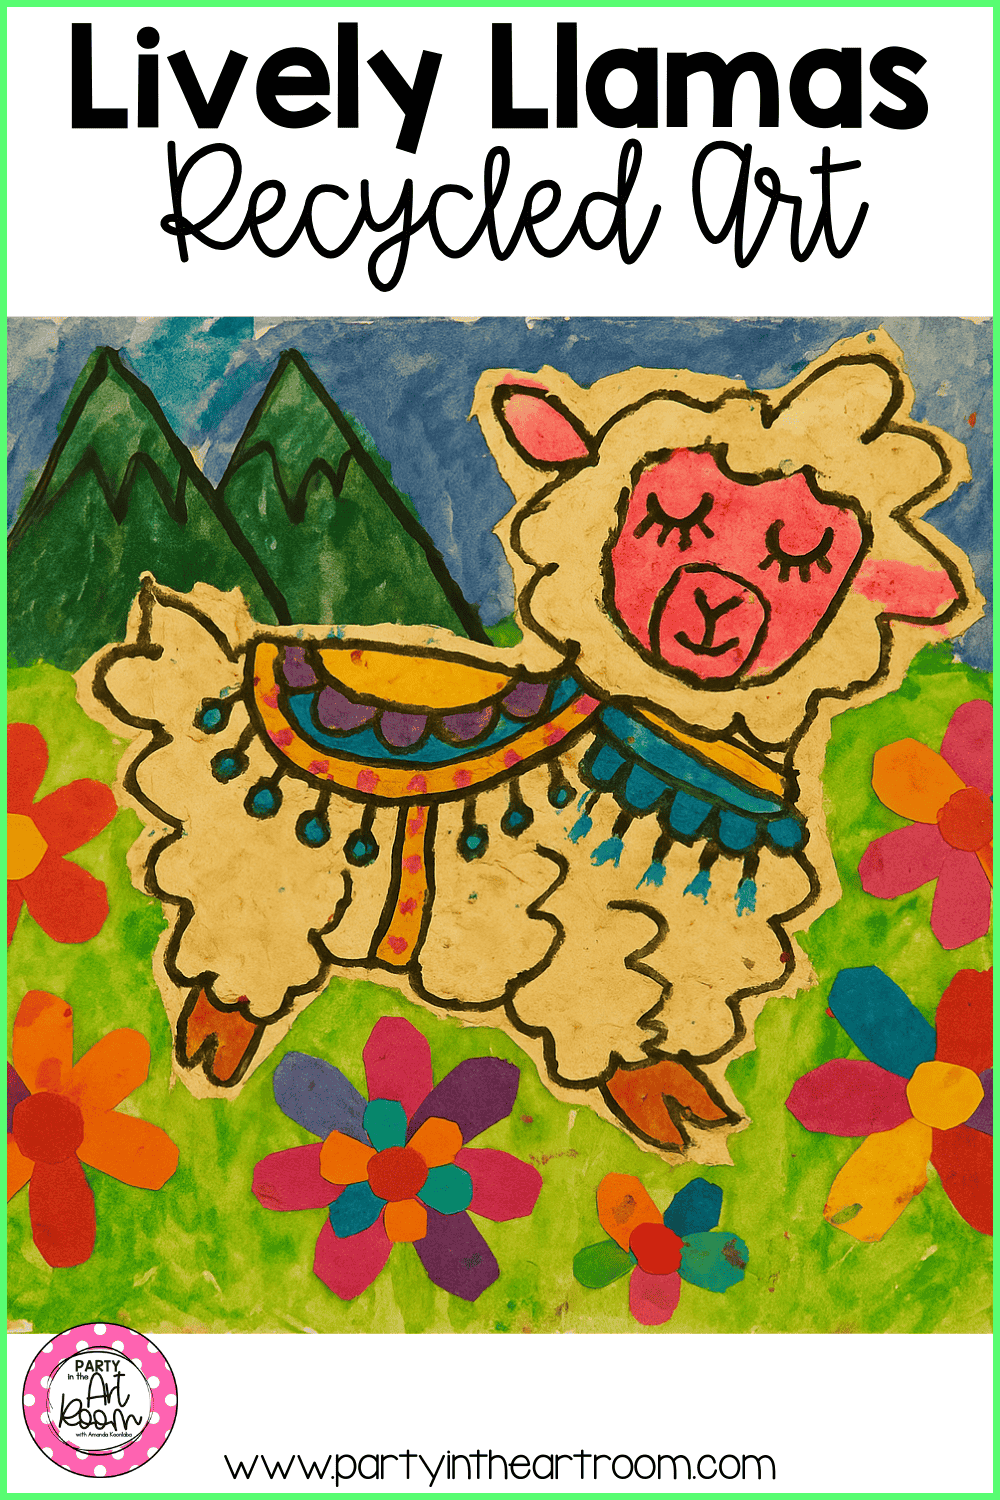
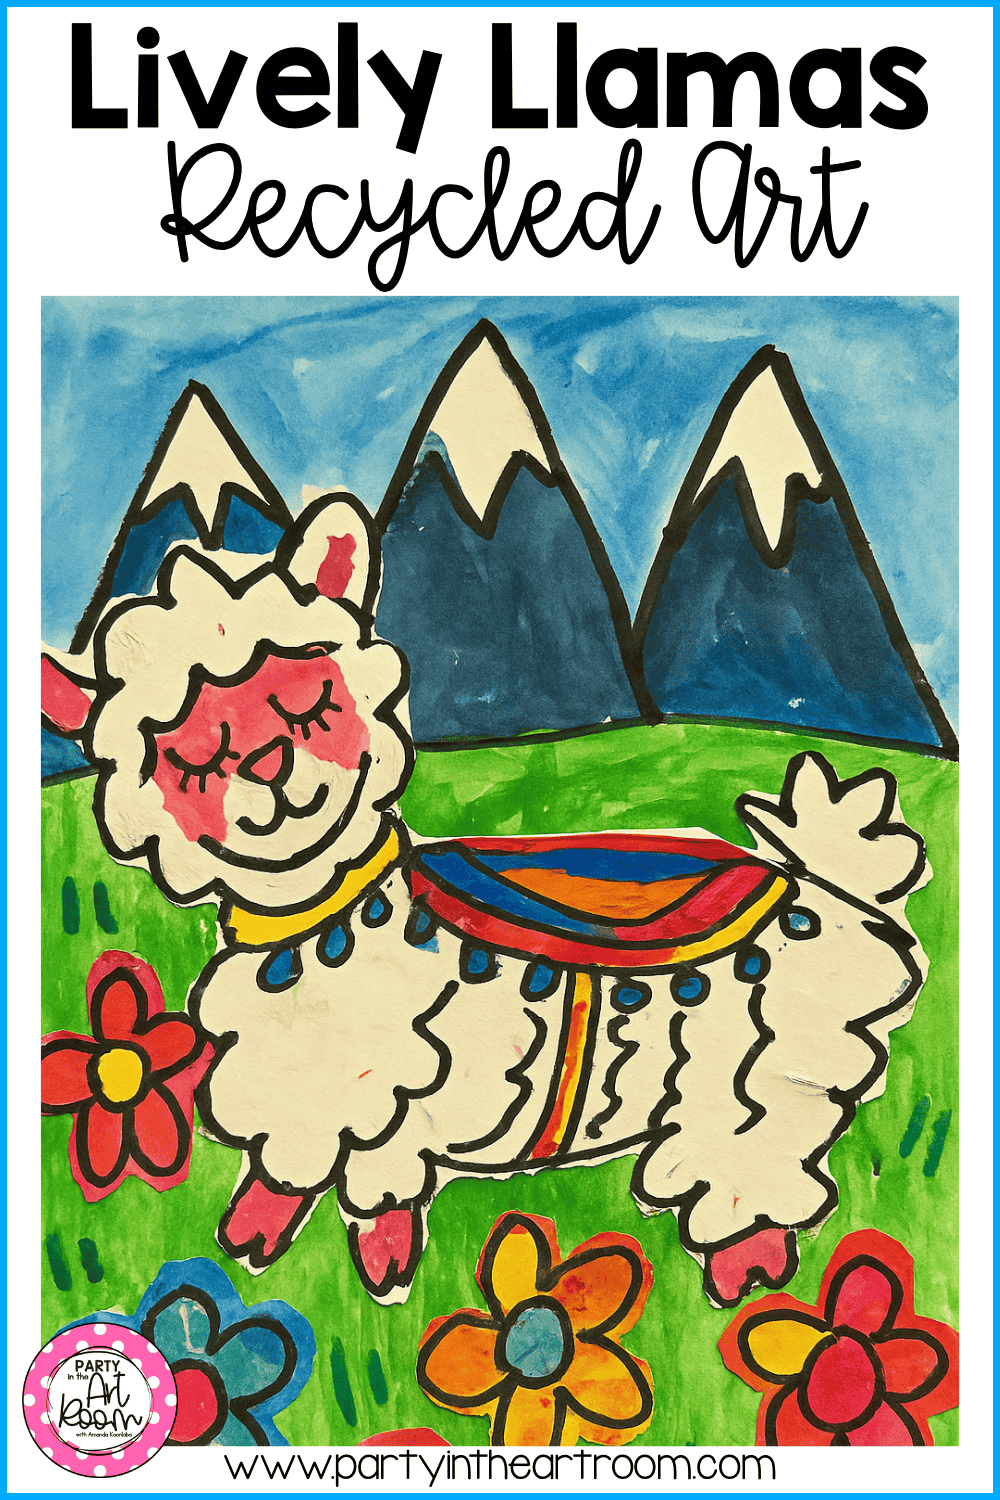
This student artwork shows how simple shapes and bold outlines helped kids create confident, personality-filled llamas.
The Project: Draw a Llama, Build a Garden, Reuse the Tissue Paper
We kicked things off by drawing our llamas. The key here is breaking the animal down into simple shapes — circles, ovals, rectangles. I showed them how to draw a big oval for the body, a smaller one for the head, and then add in ears, legs, and that little llama tail (which, let’s be honest, always turns out way too fluffy in the best way).
Students used black crayon or oil pastel to outline their drawings. I really encourage them to press hard and make those lines pop. There’s something super satisfying about bold outlines — and it helps keep everything crisp when you’re layering on paint.
Next up: paint! We used tempera, but watercolor would work too. The llamas were painted in soft tones — pinks, browns, grays — while the backgrounds were bright and full of contrast. Think rolling green hills, sky blues, and mountains fading into the distance.
And then came my favorite part: the flowers.
Instead of reaching for the construction paper, I brought out a stack of used tissue paper — leftovers from birthdays, holidays, you name it. We smoothed it out, sorted it by color (well, sort of — you know how it goes), and started cutting out simple petal shapes. The students layered pieces to create their own flowers and glued them into the grass around their llamas.
The final effect? A blooming, textured garden made from reused materials. It looked joyful, it felt meaningful, and it added a lovely tactile layer to their artwork. Plus, it gave us the perfect chance to talk about sustainability and creative reuse — which is basically art room gold.

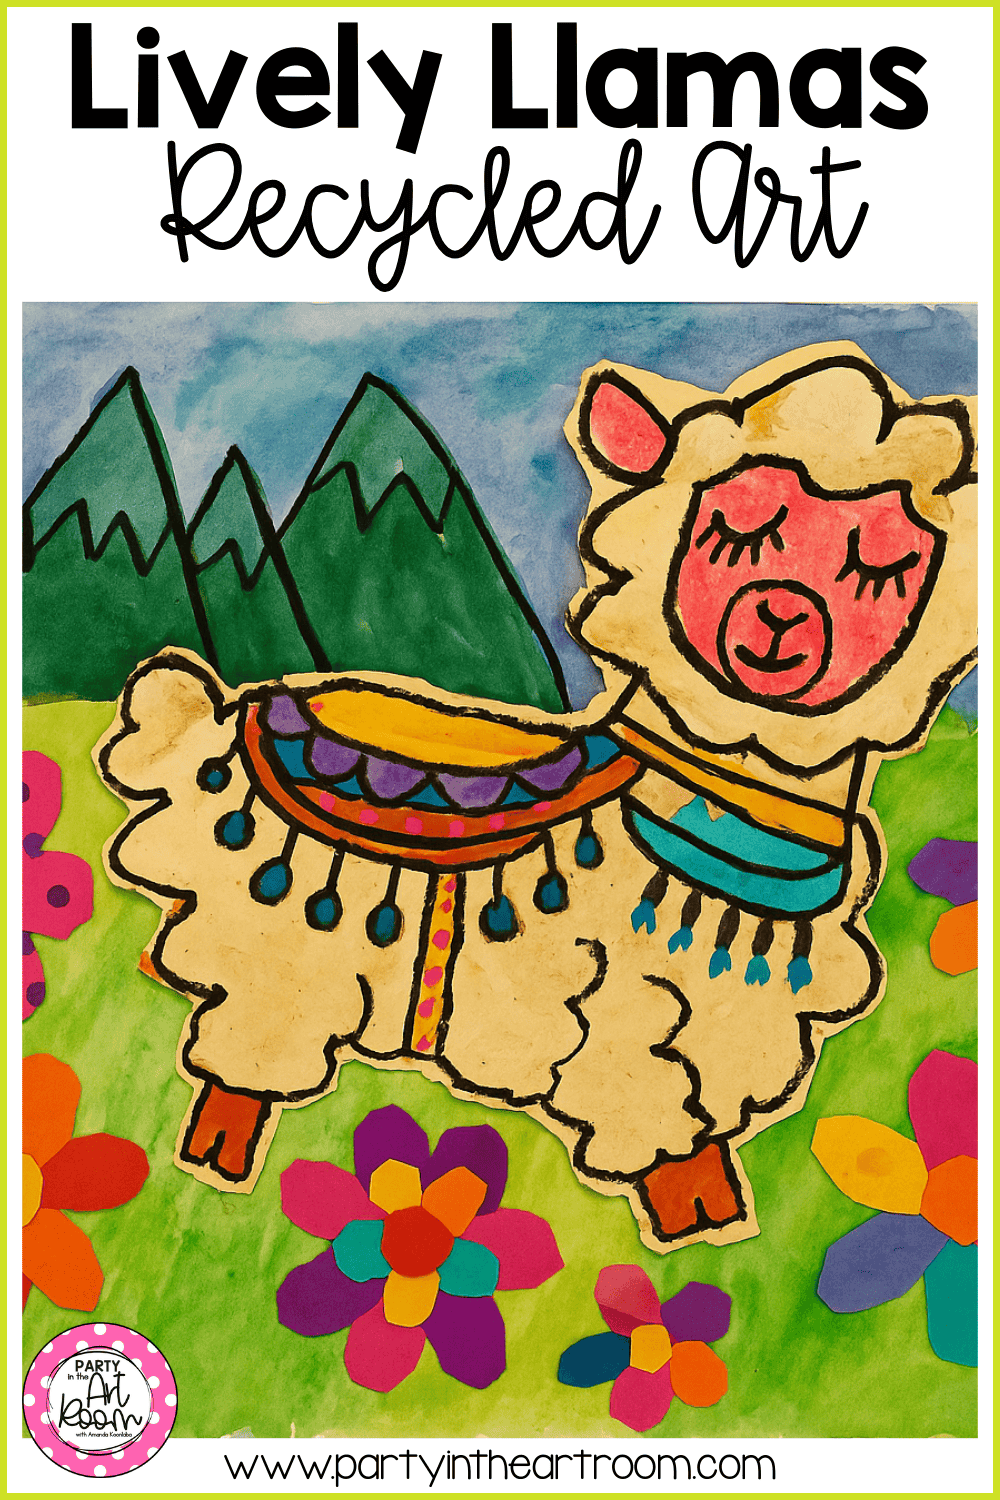
This student added bright colors and soft tones, echoing the lesson’s emphasis on contrast and expressive color choices.
Materials List (a.k.a. What We Used and What We Dug Out of the Closet)
● Tempera or watercolor paint
● Water cups, brushes, paper towels
● Black crayon or oil pastel
● Drawing paper or mixed media paper
● Scissors and glue
● Used tissue paper in all colors
● Optional: markers for patterns or final touches
Pro tip: If you’re low on tissue paper, send a quick note home. Parents are usually more than happy to send in clean, used tissue paper — especially when they know it’s going to become part of a “llama flower garden masterpiece.”
Layered tissue paper flowers in this piece highlight the project’s focus on texture and creative reuse.
The Art Concepts We Built In (Without Killing the Vibe)
This project wasn’t just about cuteness (although let’s be honest, it was very cute). Here’s what we actually worked on:
🎨 Line: Students used contour lines to define their llamas. We talked about how lines can show texture — wavy lines for fur, straight lines for blankets, spirals for decoration.
🌸 Color: Students made choices about color contrast, cool vs. warm tones, and how to balance the background with the subject. They also got to mix colors and see how different papers absorbed the paint in interesting ways.
📏 Space: We discussed foreground, midground, and background — especially when deciding where to place those tissue paper flowers. It’s a great intro to the idea of depth in art without needing a full-on perspective lesson.
🖌️ Texture: This one came alive when we added the tissue paper. The layering and overlapping created real, tangible texture that the students could feel — and that made their artwork stand out (literally and visually).
♻️ Creative Reuse: By using tissue paper that would’ve otherwise been thrown away, students learned that art materials don’t always have to come from a store. We even brainstormed other things they could reuse at home — like packaging paper, wrapping paper scraps, or old drawings.
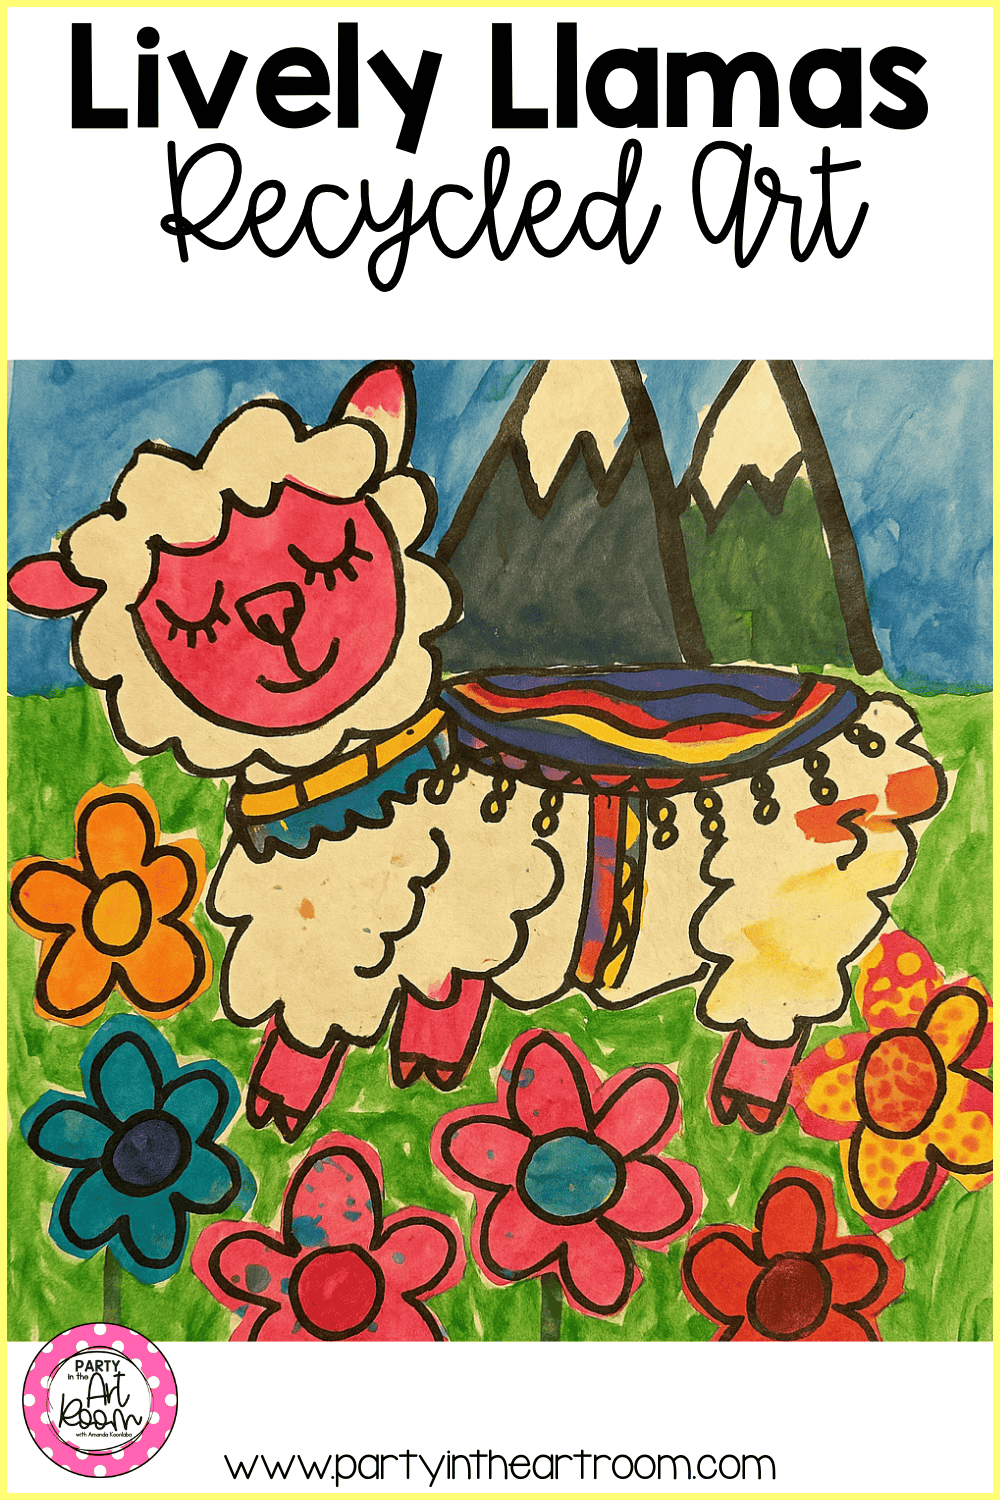
This artwork shows how students explored depth by placing flowers in the foreground and mountains in the distance.
What Surprised Me
I expected this project to go well — but I didn’t expect the amount of personality these llamas would have. Some had giant lashes. Some had blinged-out blankets. One had flowers in her hair and was named “Llamantha.” Another wore a rainbow cape and “guarded the flower fields.”
I also noticed how this project leveled the playing field. Students who often struggle with drawing felt confident thanks to the simple shapes. Students who love decorating went all in on the flower garden. It gave everyone a place to shine.
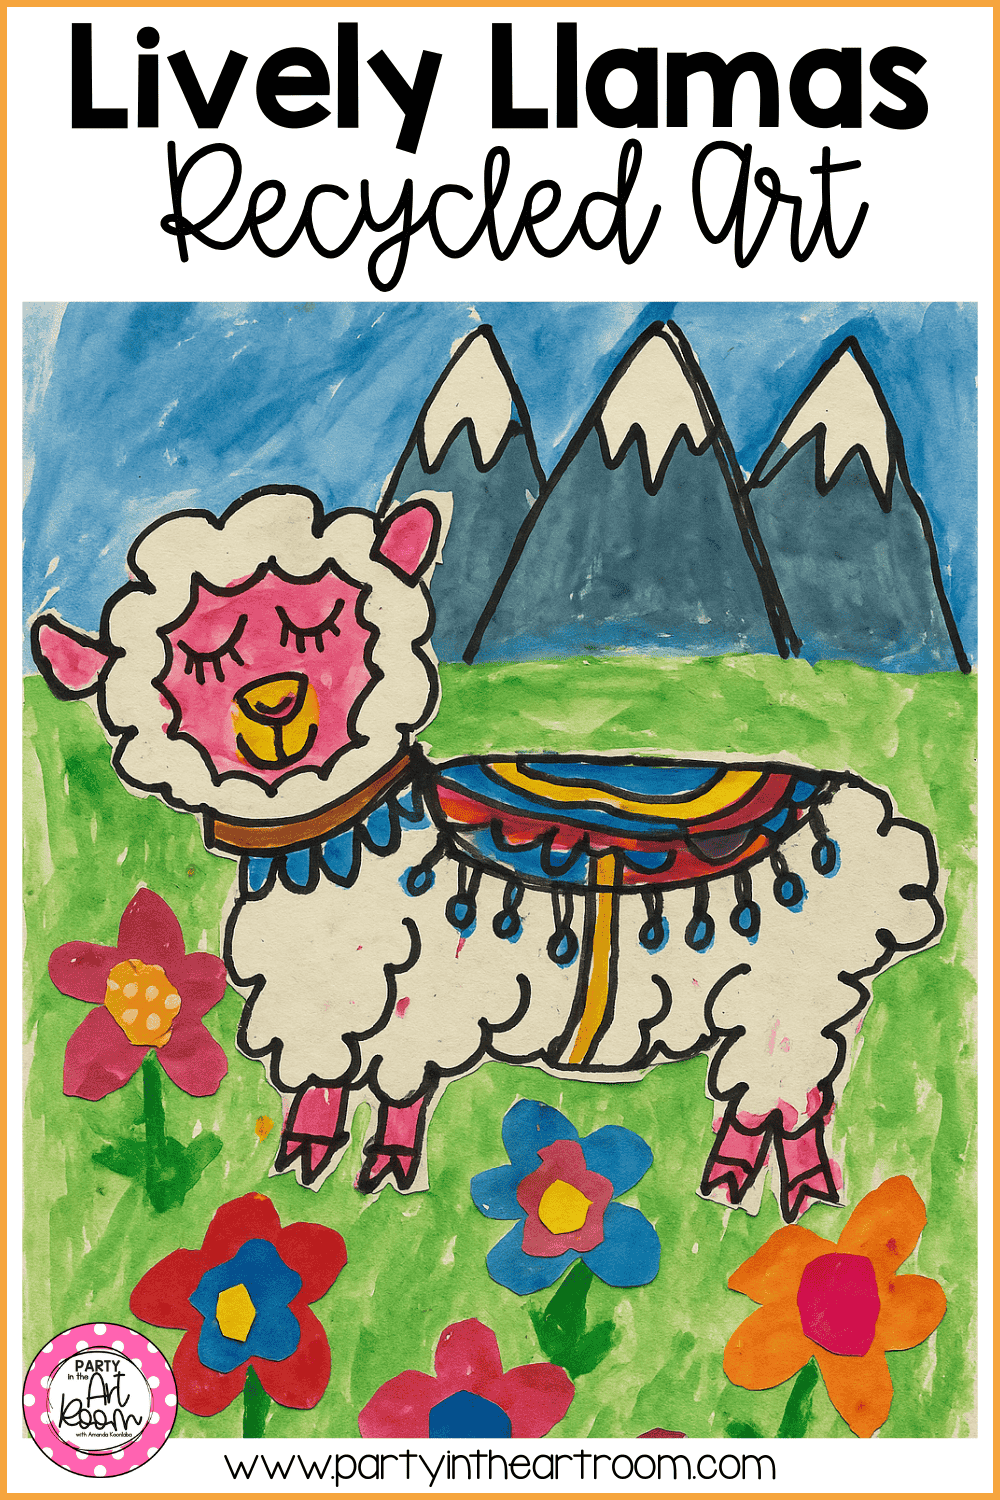
With blue mountains and a bright field, this example captures how students created vivid backgrounds behind their llamas.
How to Make It Work in a Homeschool or Small Group Setting
If you’re working with one kid (or just a few), you can easily turn this into a two- or three-day project:
Day 1: Sketch the llama and outline with crayon or oil pastel
Day 2: Paint the llama and background
Day 3: Cut and glue tissue paper flowers, add final touches
Want to go cross-curricular? Pair it with a nonfiction reading about llamas or animal habitats. You could also write mini stories about the llamas once the artwork is done. (My students always go wild with this — lots of llamas living in rainbow castles or traveling the world.)
This llama’s expressive face and fluffy tail show how students added personality through small details.
Display Ideas
When these were finished, we mounted them on colored construction paper and made a big bulletin board called “Llamas in Bloom.” It was an instant hit. We even had staff members stopping by to pick their “favorite llama of the day.” Some classrooms used them for writing prompts. Others just admired the vibes.
You could also hang them in a hallway with a title like:
● “Llamas Love Spring”
● “No Drama, Just Llamas”
● “Llamas in the Garden of Imagination”
And yes — someone will ask if they can make another one. That’s how you know it worked.
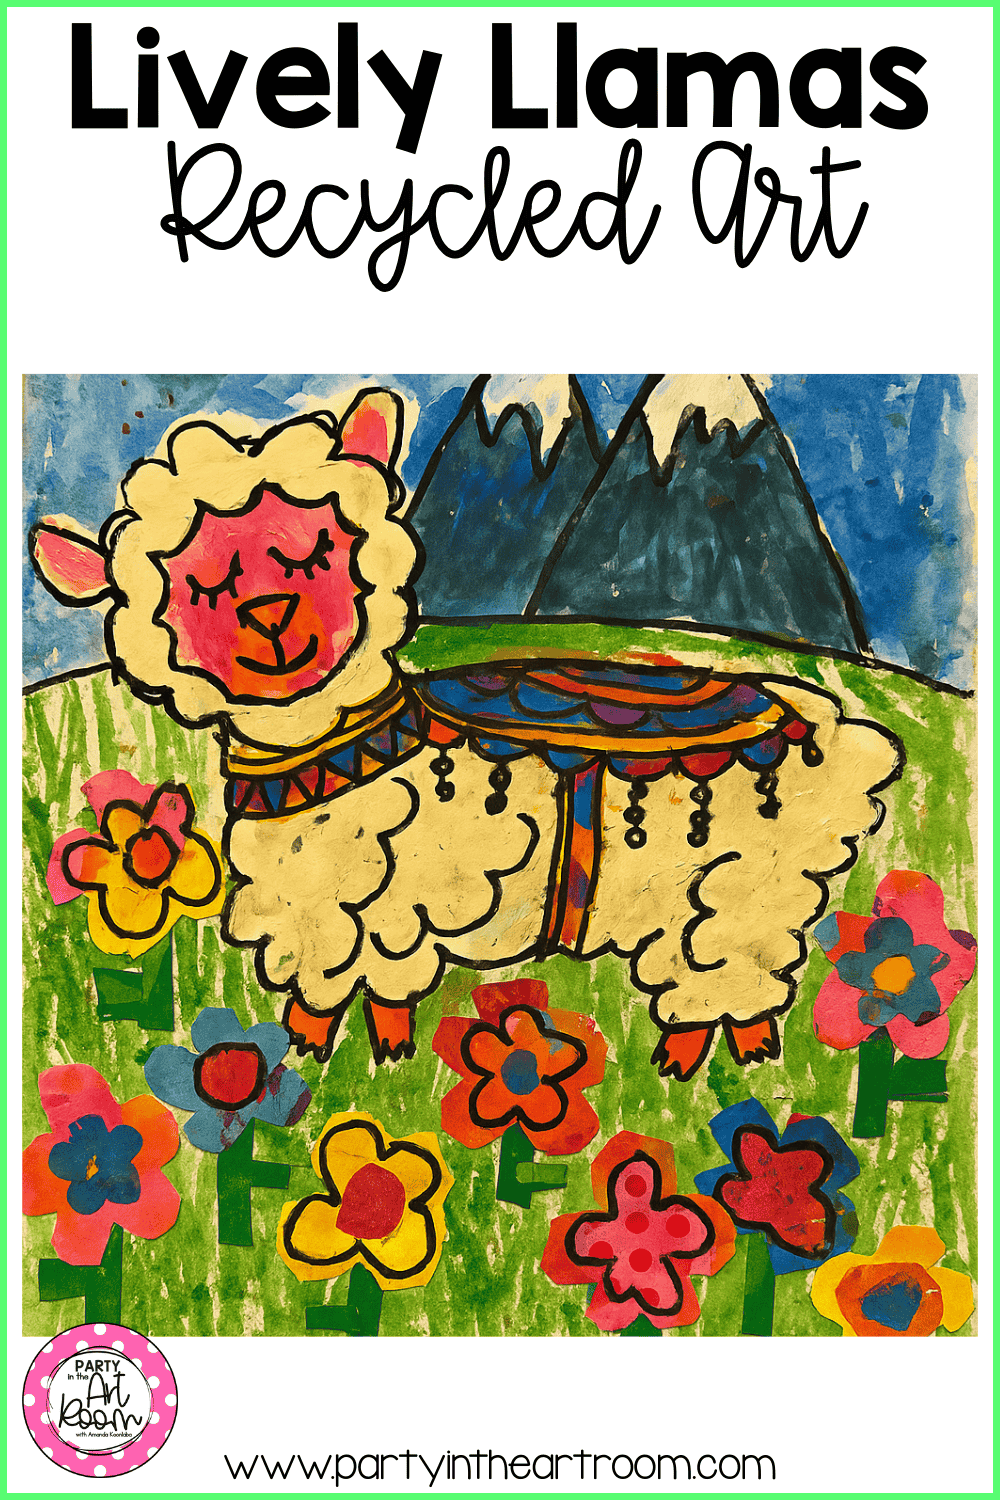
This final example shows how the tissue paper garden brought real texture and joy to each student’s piece.
Looking for More Animal Art Projects?
If your students enjoyed this llama project, they’ll love creating other animals with personality. One of my favorite companion lessons is:
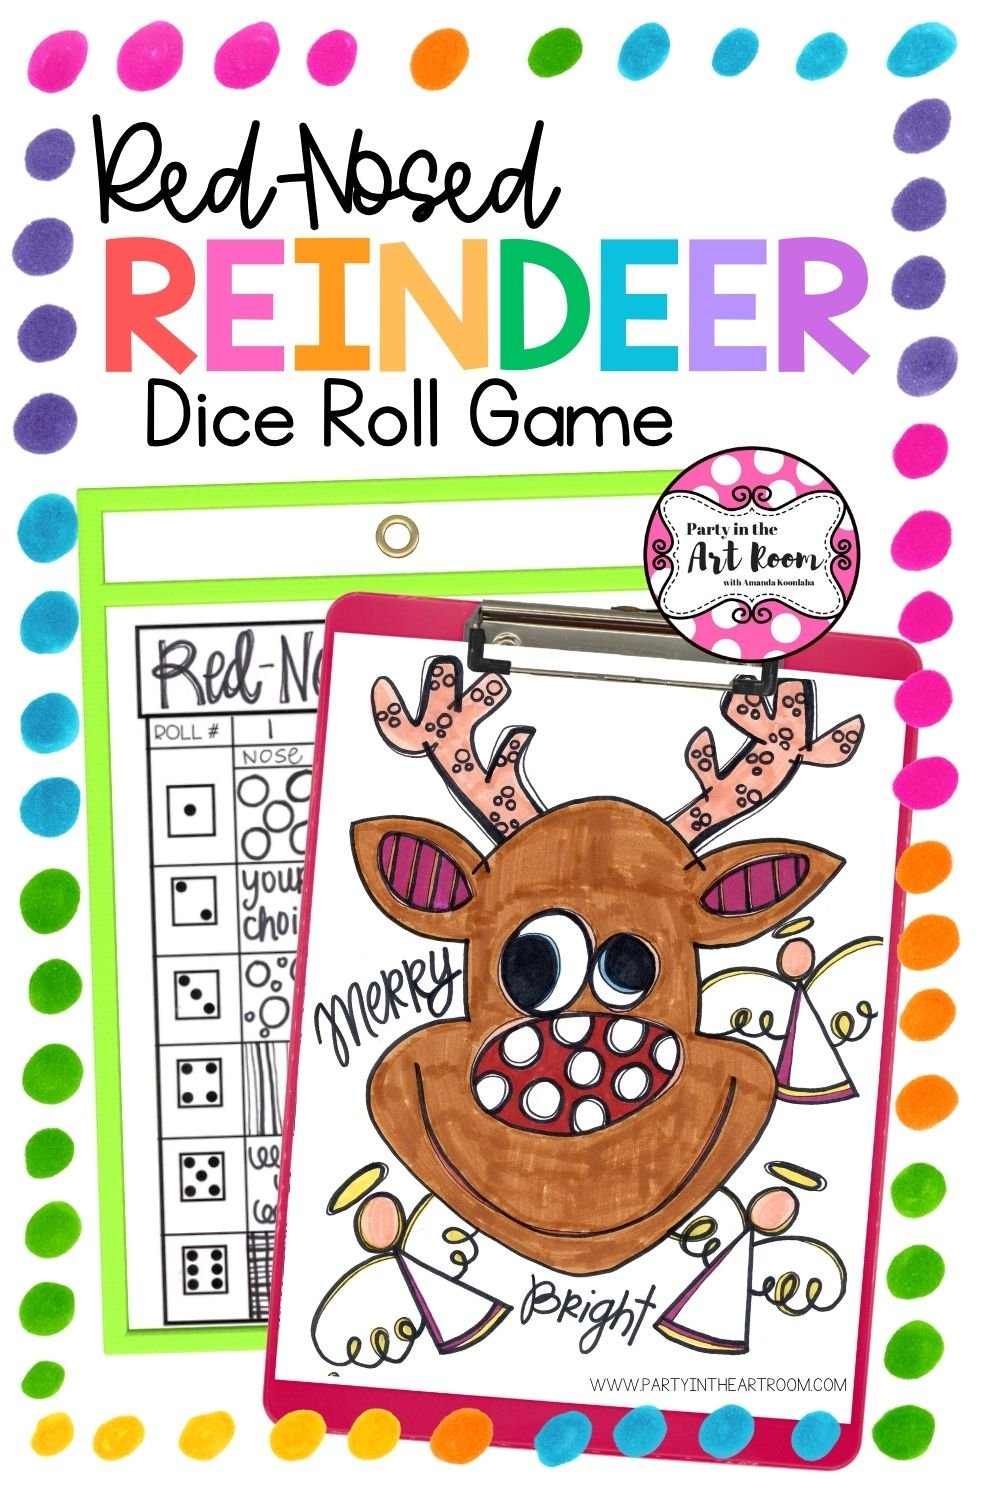
👉 How to Draw a Reindeer Step-by-Step — It’s got the same easy-to-follow structure, encourages quirky details, and works great in winter or as a contrast to our springy llamas.
And if you want something extra hands-on, check out the post on:
👉 How to Make Really Easy Animal Masks with Plaster Wrap — It’s a little messier, but so engaging, and the masks come out amazing every time.
Final Thoughts: More Than Just a Llama
At the end of the day, this project wasn’t really about drawing a llama. It was about giving students a chance to create something joyful. Something bold. Something that let them say, “Look what I made — and it’s weird and wonderful and totally mine.”
It was about making space for creativity at the end of a long school year. About reusing what we had. About reminding kids (and ourselves) that art doesn’t have to be perfect — it just has to be authentically made.
And if it comes with a llama in a field of tissue paper flowers? Even better.
You Might Also Be Interested In:


Expand Creativity with Symmetry Drawing Worksheets
Dive deeper into symmetry with our specially designed symmetry drawing worksheets. These engaging activities challenge students to complete intricate designs while honing their understanding of symmetrical balance. Perfect for classrooms or homeschool settings, these worksheets make learning symmetry both fun and artistic.

Shop Workbooks on Amazon
Affiliate Disclosure: Party in the Art Room is supported by its audience. When you purchase through links on this site, a commission may be earned.
Get to know Amanda Koonlaba!
Hi! I’m Amanda. Teaching children to be creative thinkers is my greatest joy. I’m here to help you bring that same joy to your classroom.

This guide is packed with 25 ideas for using art to teach math and ELA. It’s arts integration for the win!

I want all students to feel successful in the art room, so I created a standards-based Daffodil Collage lesson to do just that! The lesson includes an artist study, student reflection, and more, so push your artists to their full potential.


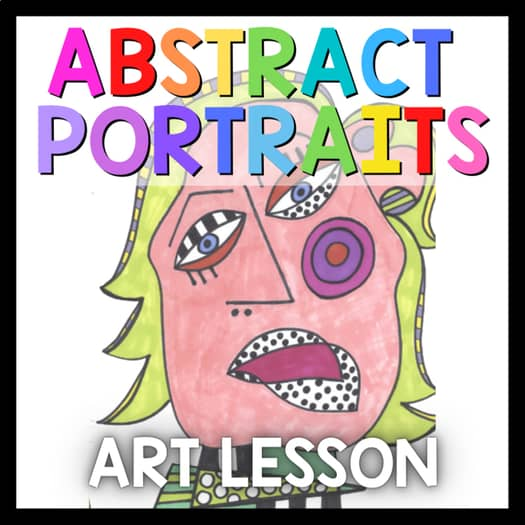
Are you planning an abstract art lesson inspired by Paul Klee? Are your students going to create abstract portraits? Here’s an engaging and vibrant lesson to enhance your curriculum! This resource is an ideal addition to your elementary art plans, bringing creativity and excitement to your classroom.