Expressive Self-Portraits: An Oil Pastel and Clay Art Project for Kids
A Bold and Colorful Mixed Media Project for 5th and 6th Grade
If you're looking for an expressive self-portrait project that wows without turning your art room into total chaos, this one's for you.
My combined 5th and 6th grade class created these vibrant portraits using oil pastels, tempera cakes, tempera sticks, and—get ready—Model Magic clay flowers. It's one of my favorite mixed media art projects for upper elementary students, and it checks all the boxes for color theory, texture, and creativity.
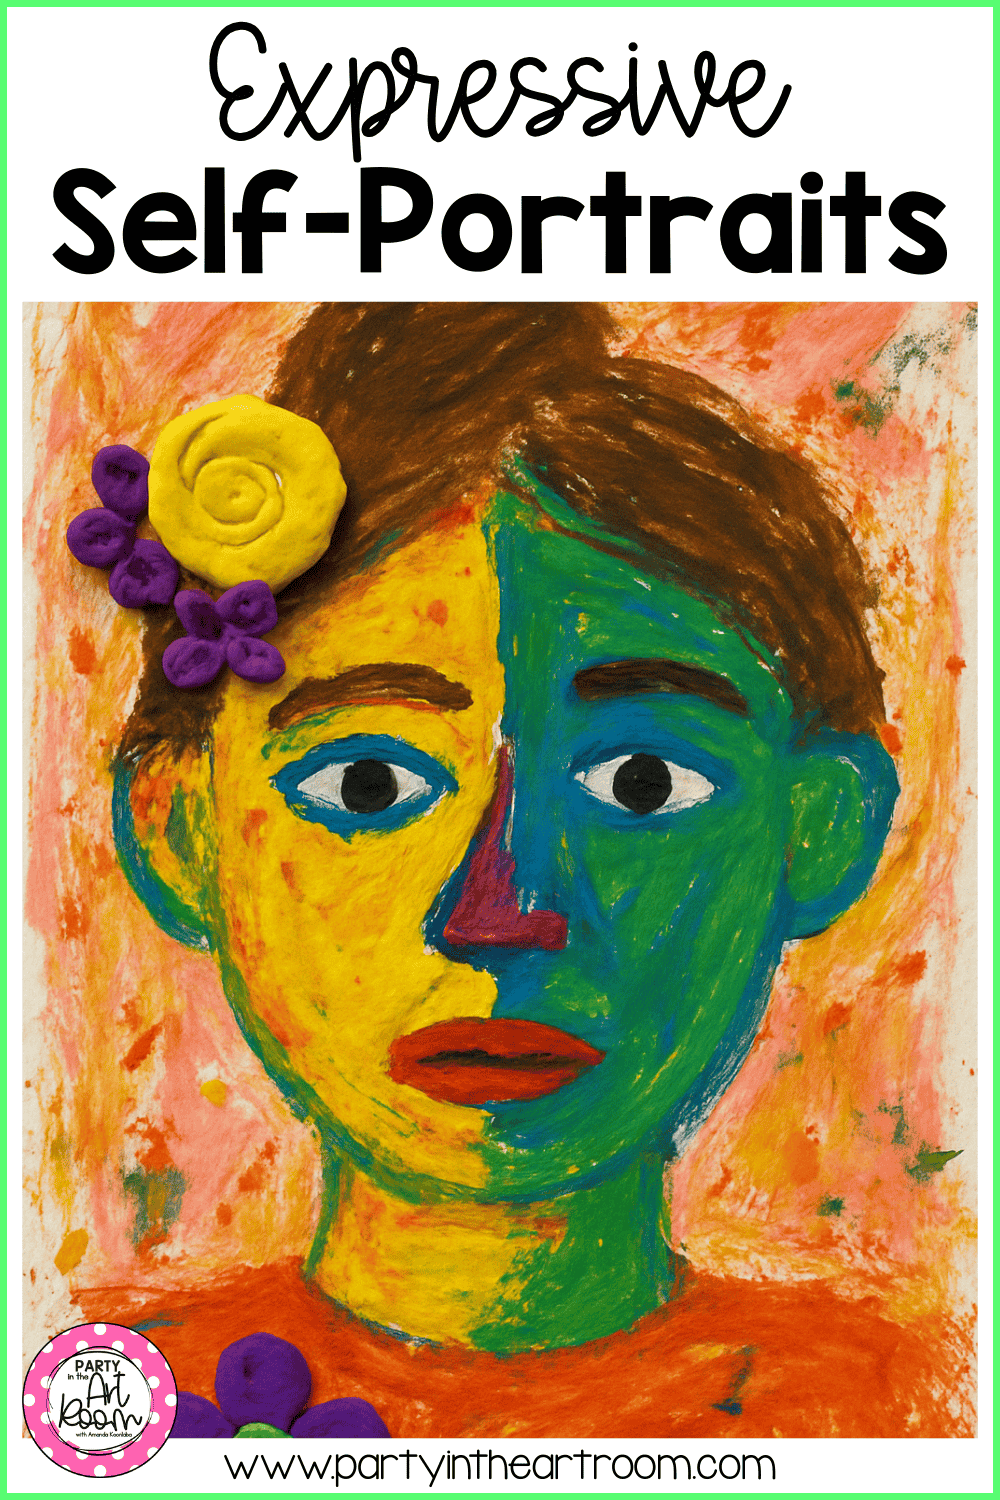
These bold, mixed media self-portraits show how upper elementary students combine oil pastels, paint, and clay for expressive, high-impact artwork.
🎯 Why This Project Works in Upper Elementary
Students already had some practice with paint and color before diving into this lesson. So, this project became a fun way to pull those skills together—applying color theory in a bold and expressive way.
They worked on symmetry (hello, balanced faces) while also exploring asymmetry in how they placed colors and 3D embellishments. We weren’t talking about symbolism or identity here—just straight-up joyful artmaking with high-impact materials and solid technique.
🧑🎨 Step-by-Step: How We Created These Mixed Media Self-Portraits
Materials We Used (affiliate links included):
● 🟨 Manila Tagboard – sturdy and creamy, perfect for layering mixed media
● 🟡 Oil Pastels – bold, blendable, classroom-friendly
● 🟠 Tempera Sticks – great for outlining and soft blending with water
● 🟣 Tempera Cakes – these last for years and give rich, buildable color
● 🖌️ Paintbrushes – used for water blending and background
● 🎨 Model Magic – sculpted into flowers and glued down with white craft glue
The Process:
Start with symmetrical face shapes drawn down the center of the page.
Fill in bold areas of color using oil pastels.
Outline features with tempera sticks, then gently blend with a little water.
Use tempera cakes and brushes to fill the background with energetic color.
Sculpt clay flowers or accessories from Model Magic, and glue them on with white glue once everything’s dry.
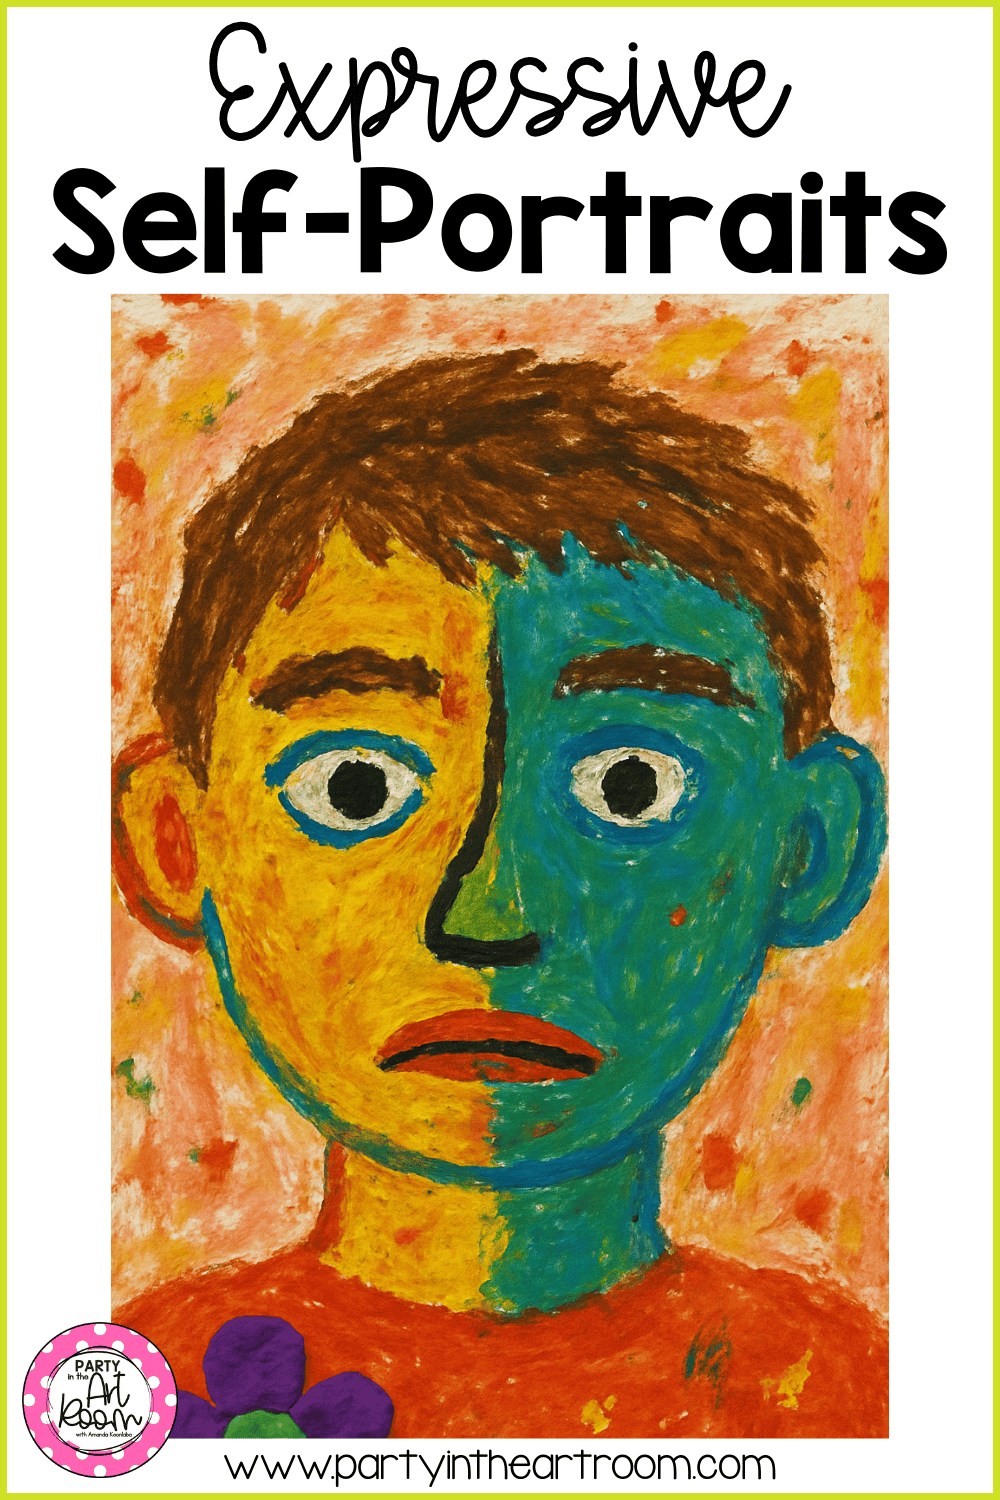
In each portrait, students use expressive color schemes and layered media to build contrast, texture, and personality.
💡 What Kids Learn From This Expressive Portrait Lesson
● Color Theory for Kids: Complementary, warm/cool, and split-complementary schemes in action
● Art Vocabulary: Symmetry, contrast, texture, and mixed media
● Creative Confidence: The freedom to layer materials and try new combinations
● Texture Play: The combo of slick pastels and bumpy clay makes this a tactile, engaging experience
🛍️ More Expressive Portrait Art Lessons
Want more ways to bring expressive self-portraits into your classroom?
Check out these tried-and-true favorites:
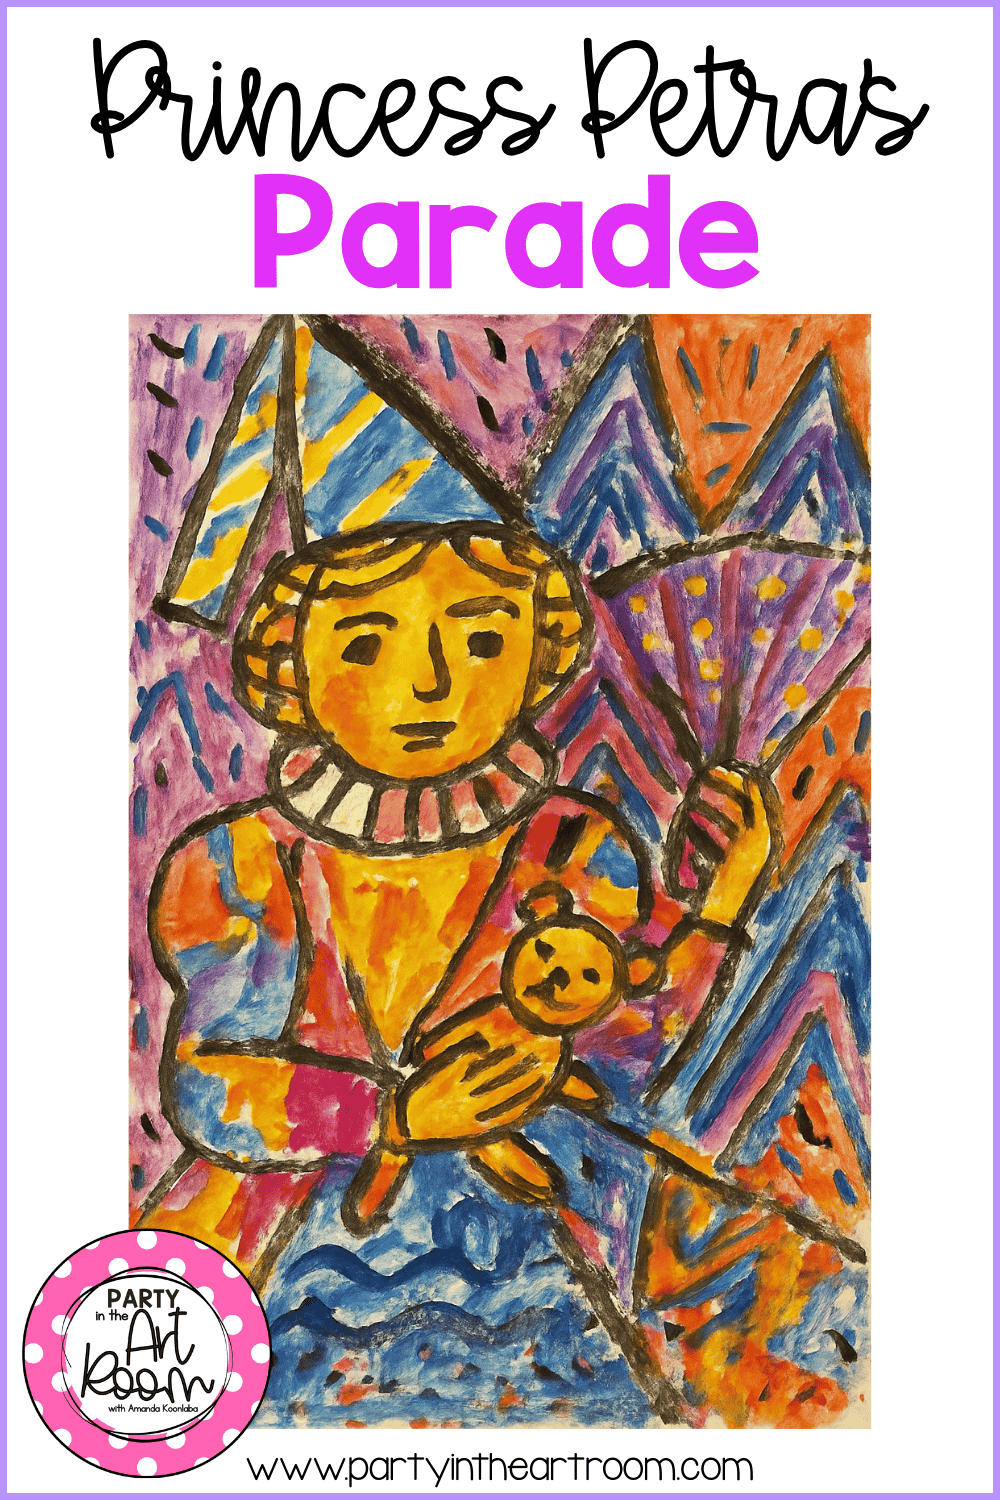
● 🎲 Paul Klee Abstract Portrait Dice Game
Each one builds skills while giving students a chance to express themselves through colorful, creative portraiture.
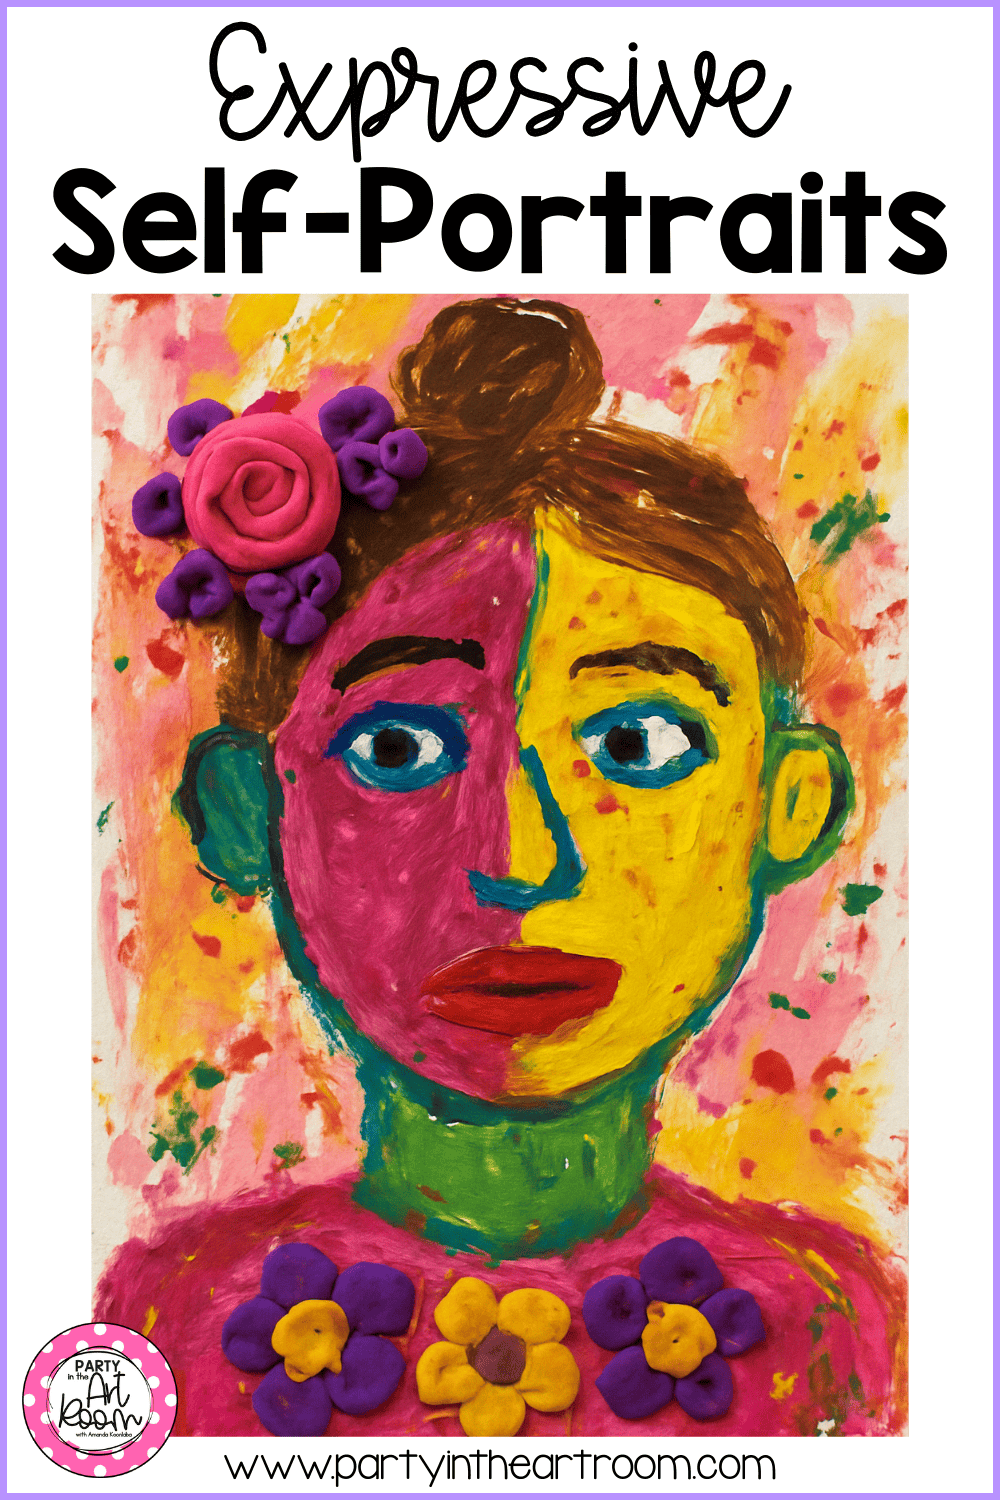
Model Magic flowers add a sculptural pop that elevates these portraits from flat drawings to true mixed media masterpieces.
🤔 Should I Make This Into a Full Lesson Resource?
Okay, teacher friends—here’s the real question.
Should this expressive self-portrait lesson become a full printable resource?
Think:
● Step-by-step lesson plan
● Sketch and layout templates
● Student reflection pages
● Materials list with links
● Classroom tips and adaptations
Would that be helpful to you? I haven’t made this one into a TPT or OTBC resource yet—but maybe I should?
Drop your thoughts in the comments or send me a message—I’d love to know what would make this project even more plug-and-play for your art room or homeschool setup.
And stay tuned for Part 2, where we reimagine this same idea using a completely different set of materials. You know we had to take it further.
More GREAT IDEAS:


Designed specifically for classroom use, these worksheets provide a template for your students to explore the concepts of tints and shades while developing their artistic skills. Whether you're looking for a way to enhance your art curriculum or just want to inject some creativity into your classroom, these worksheets are sure to inspire your students!

Check out discounts, deals, and recommendations on all our artsy faves!
Affiliate Disclosure: Party in the Art Room is supported by its audience. When you purchase through links on this site, a commission may be earned.
Get to know Amanda Koonlaba!
Hi! I’m Amanda. Teaching children to be creative thinkers is my greatest joy. I’m here to help you bring that same joy to your classroom.

This guide is packed with 25 ideas for using art to teach math and ELA. It’s arts integration for the win!

I want all students to feel successful in the art room, so I created a standards-based Daffodil Collage lesson to do just that! The lesson includes an artist study, student reflection, and more, so push your artists to their full potential.


Are you planning an abstract art lesson inspired by Paul Klee? Are your students going to create abstract portraits? Here’s an engaging and vibrant lesson to enhance your curriculum! This resource is an ideal addition to your elementary art plans, bringing creativity and excitement to your classroom.