How to Blend Like a Betta: Middle School Oil Pastel Magic
Let me tell you, middle schoolers are not too cool to fall in love with drawing fish. Especially when those fish have fabulous flowy fins, dramatic color blends, and just the right amount of flair. These betta fish drawings turned my art room into a full-on underwater glow-up zone—and I am not mad about it.
It all started with a stack of blue construction paper, some juicy oil pastels, and one mission: to layer and blend like a boss.
I knew I needed a project that would hold their attention and challenge them to think beyond the usual scribble-and-go routine. These students were ready to level up, and I wanted something that let them practice real technique but still gave plenty of space for creativity and self-expression.

Layered blues and greens add texture and depth to this flowing betta fish design.
🎨 The Project: Betta Fish with Oil Pastels
This lesson is all about color, movement, and texture. We started with a quick visual exploration—photos of betta fish, some video clips of their swooshy little fins moving in the water, and a short discussion about what we noticed. Their colors. Their drama. Their total diva energy.
Then, we jumped into drawing. I modeled a few basic betta shapes on the board—focusing on proportion and how to exaggerate those signature tails—and then turned it over to the students. They sketched directly onto blue construction paper. No erasers allowed (you know the rule), just light pencil lines and confidence.
After that, we outlined the fish with black pastel or oil pastel to lock in those lines. Then came the real fun: the layering and blending.
We talked about starting with a base color and layering from there—adding highlights, shadows, and pops of unexpected contrast. Some students went for neon fins. Others stuck with more natural blues and purples. Either way, the goal was to experiment and observe what happened when you pushed colors together.
Once the fish were fully colored, students used blue and white chalk to add flowing lines around the fish. We talked about how movement in art doesn’t have to be literal. Those swirling lines gave the illusion of water currents and helped frame the fish as the stars of the show.
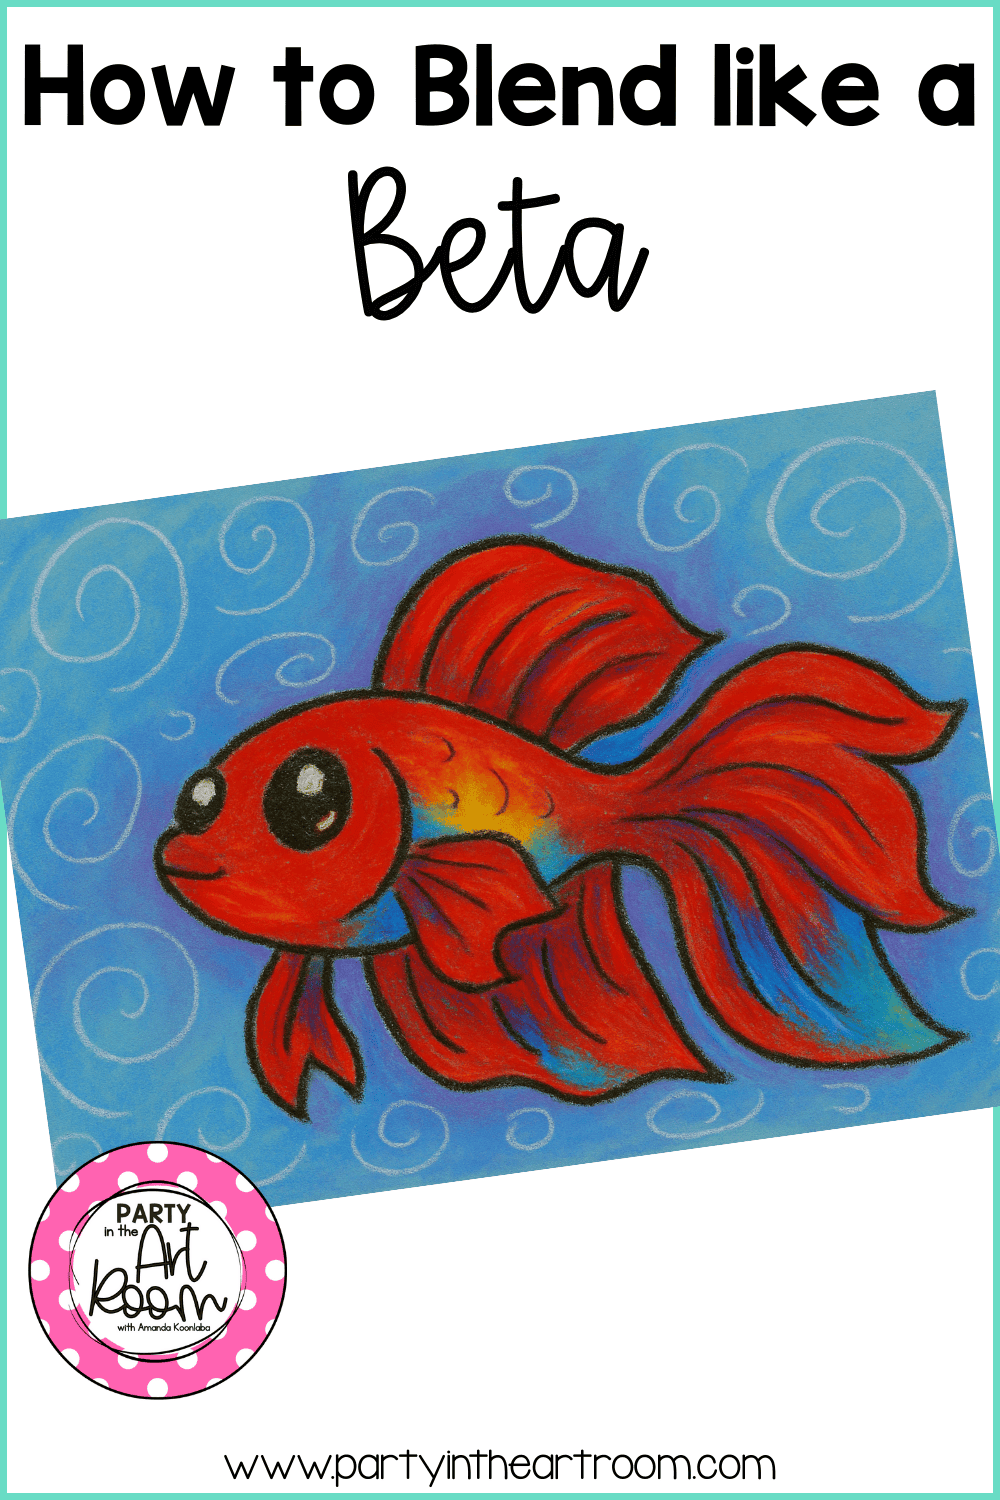
A vibrant betta fish drawing showcases bold oil pastel blending and flowing line work that brings movement to the composition.
🧰 Materials We Used
Here’s our full list if you want to try this in your own art room (or kitchen table if you’re homeschooling):
● Oil pastels (Crayola, Pentel, or even Sennelier if you're feeling fancy)
● Blue construction paper (12x18 is a nice dramatic size)
● White and blue chalk pastels for the background
● Black oil pastel or Sharpie for outlines
● Blending tools (cotton swabs, paper stumps, fingers—your call!)
● Paper towels or wipes for the inevitable pastel-covered hands
🧠 What They Learned (Besides How to Make Fins Look Fabulous)
This lesson is secretly packed with art concepts. We didn’t just draw pretty fish—we were learning the real deal:
● Blending & Layering: How pressure affects color saturation, and how to build rich texture and depth
● Color Theory: Warm vs. cool, complementary combos, and how to create visual harmony (or contrast!) on purpose
● Movement & Line: Using lines to suggest energy and fluidity, not just outline objects
● Texture: Visual and physical texture through pastel buildup, and using contrasting marks for emphasis
One of my favorite moments was when a student blended orange into a magenta tail and just gasped. “It looks like it’s glowing,” they said. Y’all—that’s the stuff. That’s the magic.
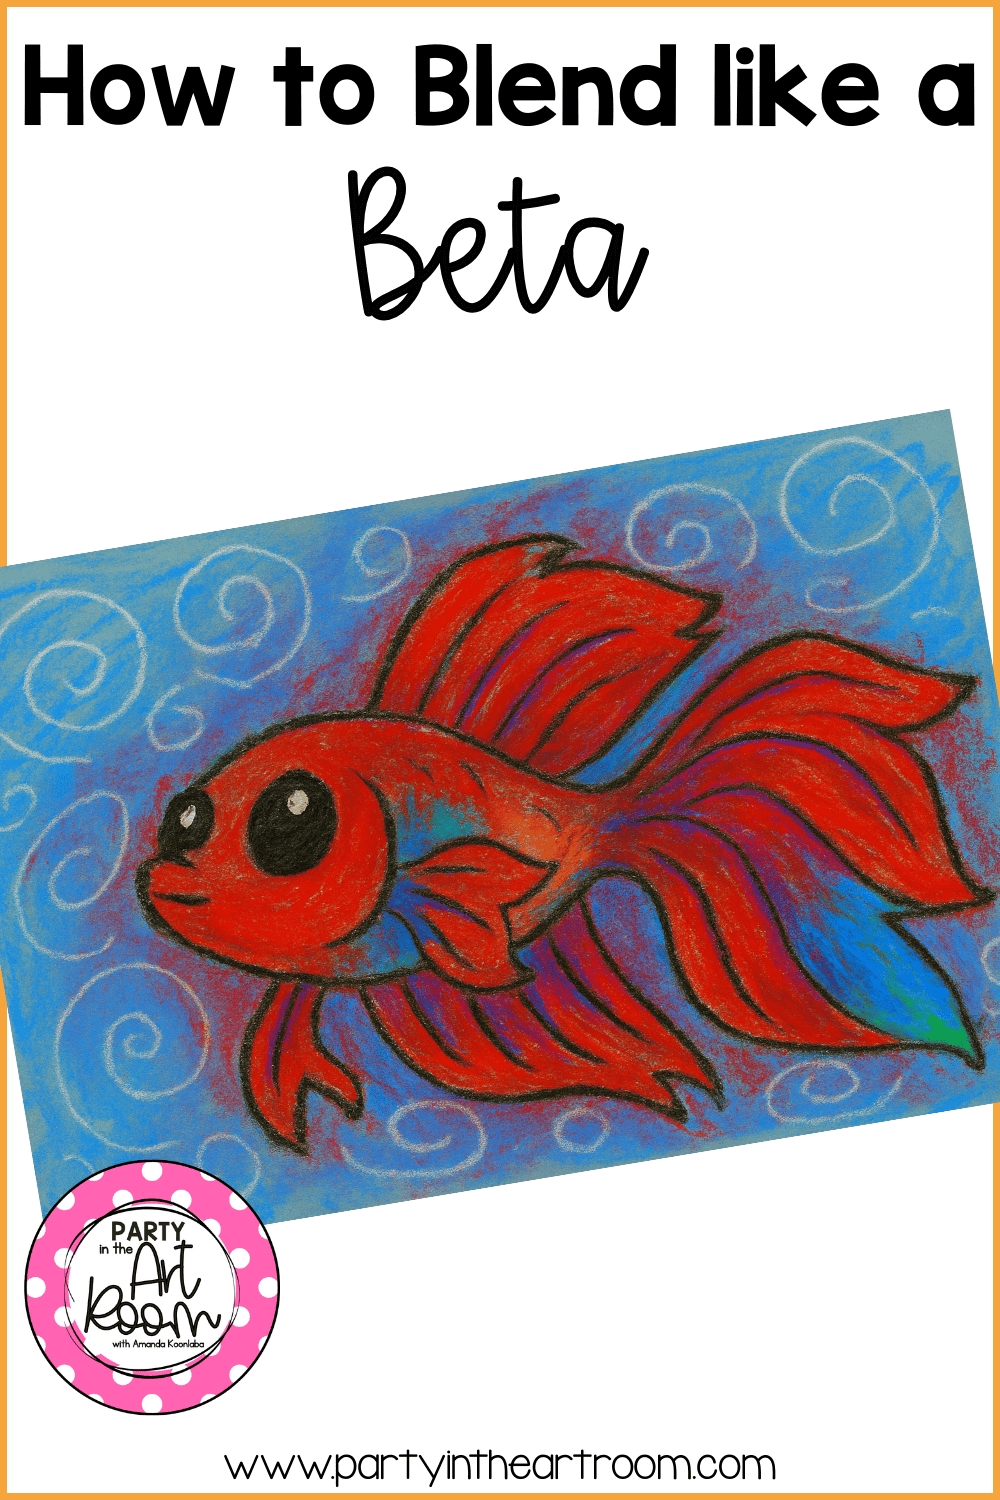
Color contrast and confident blending make this betta fish feel energetic and expressive.
🏠 Classroom + Homeschool Adaptations
If you’re teaching this in a classroom, I recommend splitting it into two sessions:
● Day 1: Intro, drawing, outlining, and base layers
● Day 2: Blending, background chalk swirls, and final touches
If you’re homeschooling, this is a great cross-curricular bridge into science. Pair it with a study of aquatic ecosystems, fish anatomy, or even how light bends in water.
Bonus idea: Have students write a short creative story about their fish. Name it. Give it a personality. Where does it swim? What’s its vibe? This turns a beautiful art project into an ELA integration without feeling like a chore.

Strong outlines and dramatic color choices help this betta fish stand out against its swirling background.
✨ Keep the Color-Layering Party Going
If your students liked this, they’ll love my Street Art and Graffiti Back to School Activity. It’s packed with bold lines, expressive lettering, and color experimentation—plus, it’s a hit with middle schoolers who need a creative way to express themselves (and let’s be real, they all do).
So that’s the betta fish magic. Low cost, high engagement, and full of opportunities to build real artistic skills while having a blast.
Got questions about oil pastel techniques? Want to show off your students’ work? Tag me or drop a comment—I’m always happy to gush over great student art. 🐠💙
You Might Also Be Interested In:
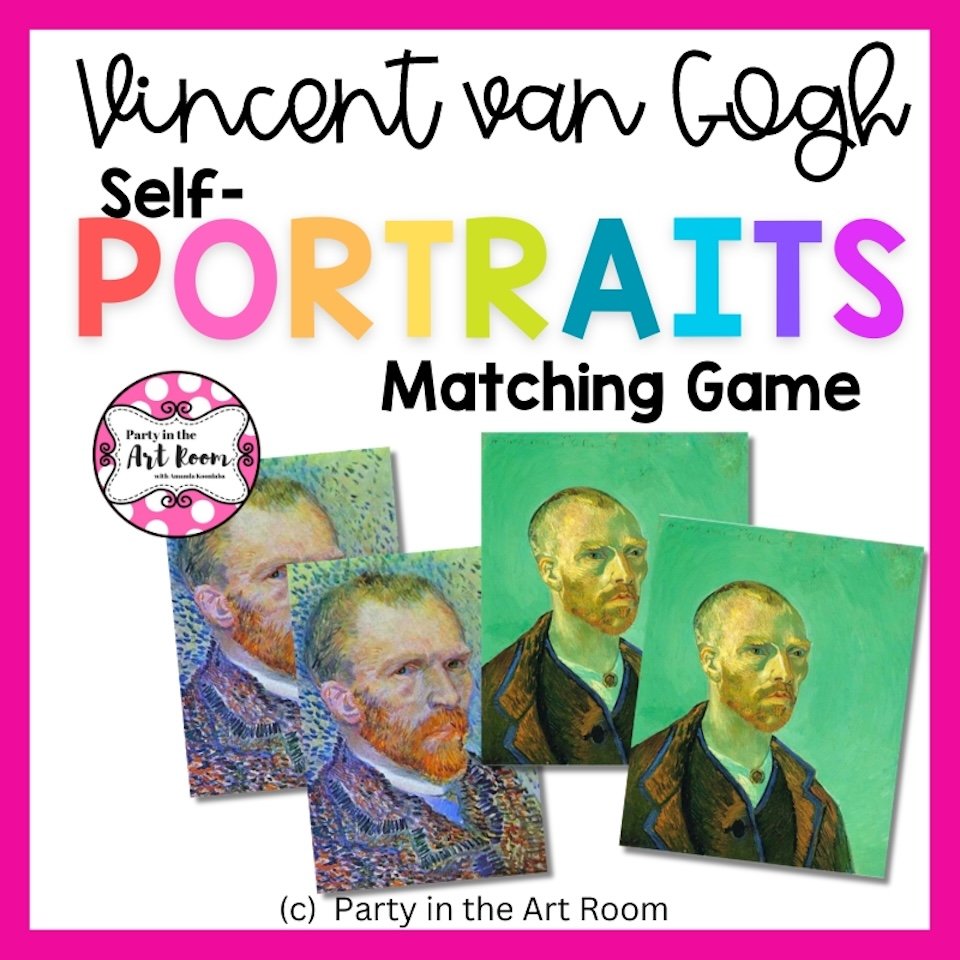
Inside this free PDF, you'll find a treasure trove of van Gogh's self-portraits, each capturing the essence of the artist's unique style and introspection. From his early works to his later masterpieces, this collection showcases the evolution of van Gogh's self-representation throughout his remarkable career.
As students pair the self-portraits, they will develop visual recognition skills, explore color and brushstroke techniques, and gain a deeper understanding of van Gogh's artistic journey.

Check out discounts, deals, and recommendations on all our artsy faves!
Affiliate Disclosure: Party in the Art Room is supported by its audience. When you purchase through links on this site, a commission may be earned.
Get to know Amanda Koonlaba!
Hi! I’m Amanda. Teaching children to be creative thinkers is my greatest joy. I’m here to help you bring that same joy to your classroom.

This guide is packed with 25 ideas for using art to teach math and ELA. It’s arts integration for the win!

I want all students to feel successful in the art room, so I created a standards-based Daffodil Collage lesson to do just that! The lesson includes an artist study, student reflection, and more, so push your artists to their full potential.


Are you planning an abstract art lesson inspired by Paul Klee? Are your students going to create abstract portraits? Here’s an engaging and vibrant lesson to enhance your curriculum! This resource is an ideal addition to your elementary art plans, bringing creativity and excitement to your classroom.