Chalk Pastels Without the Mess: Fun, Low-Stress Art Projects for Kids
Let’s be real. Chalk pastels are gorgeous… but also absolutely feral. I mean, they dust up everything within a 6-foot radius, cling to your sleeves, smudge across your face (usually right before your teacher eval), and somehow end up on your shoes? I don't even know.
BUT—we love them anyway. So what’s an art teacher (or crafty homeschool parent) to do when we want all that rich, velvety color without looking like we just got into a brawl with a rainbow?
Well friend, I’ve got you.
Here are my favorite tricks, tools, and tips for using chalk pastels without losing your mind—or your clean floors.

Chalk pastels bring this fabulous flamingo project to life with vibrant softness and minimal mess
1. The Magic of Baby Wipes (Yes, Really)
Before we even start with the pastels, every kid gets a baby wipe. And not just for their hands—we lay that sucker right on the table under their drawing. It’s the simplest pastel catcher you’ve ever seen. It absorbs dust as they work and gives them an easy way to clean up without the dreaded “art sneeze” that sends chalk particles into the stratosphere.
Bonus tip: Have students press gently, not scrub. Scrubbing = smears, and smears = frustration. We don’t want tears in the art room. Or in the teacher’s lounge.
2. Q-Tips & Cotton Balls = Blending Bliss
Forget fingers. Q-tips, cotton swabs, or even tiny makeup sponges are perfect for blending chalk pastels. Kids love them, and your cleanup time will be cut in half. Plus, it’s a great opportunity to talk about blending techniques and color theory without the usual side of grubby hands.
Want to go fancier? Try using those little eyeshadow applicators you can get in bulk. The kids feel like they’re doing “grown-up” art, and the results are smooth as butter.
3. Spray That Fixative (Without Fumigating the Room)
Now, if you’re really trying to cut down on chalk dust drama, a fixative is your friend. I prefer an unscented, workable fixative spray—outside, of course. You don’t need the entire class breathing in aerosol on a Tuesday morning.
But here’s a teacher hack: cheap hair spray works in a pinch. Yep, the kind that smells like a middle school dance. Just make sure you test it first so it doesn’t yellow the paper.
4. Chalk Pastel Pencils Are a Thing (And They’re Amazing)
If your students are extra messy (bless them), try chalk pastel pencils. They give you that same powdery vibrance but with way more control. They’re perfect for detailed drawings and reduce the dust by, like, 80%.
I use this set of chalk pastel pencils from Amazon, and I love them. The colors are rich, they sharpen easily, and they last longer than you’d think—even with a whole class of enthusiastic artists.
They're a little pricier than your typical pastels, but honestly, totally worth it for how much sanity they save.

This dreamy chalk pastel flower field shows how blending with simple tools can still create stunning results—without the mess.
5. Try This: The “No-Touch” Pastel Project
Here’s a project I do when I want the look of chalk pastels without actually handing kids the full sticks:
Materials:
● Cotton swabs
● White glue (optional, for outlining)
● Baby wipes for blending
● Fixative spray
Steps:
Have students draw their image lightly with pencil.
If you want to add texture or raised lines, trace with white glue and let dry.
Students use swabs to “pick up” pastel pigment and rub it into the paper. No direct contact = minimal mess!
Blend with cotton or wipes as needed.
Spray outside or have students take turns holding their art while you spray.
This works especially well for things like auroras, sunsets, and animal silhouettes—anything where you want that soft, glowing effect.
Classroom & Homeschool Adaptations
If you’re homeschooling, you’ve got even more wiggle room. Set up a simple station with chalk pastels and blending tools in a tray, and let your kiddo work outside on a porch or deck. Then all the dust can fly away with the breeze (nature’s cleanup crew).
In the classroom, I recommend using placemats or laminated folders under each student’s paper to contain the chaos. You’ll thank me later.
Final Thoughts: You Can Have Pretty Without the Pastel Pileup
Listen, I’m not here to rob kids of the tactile joy of messy art. Sometimes, they need to get a little grubby—it’s part of the creative process. But when you’re working with 25+ kids (or teaching at your kitchen table and still trying to get dinner on), a few smart tweaks can go a long way.
So go forth and pastel—with confidence, a baby wipe in hand, and maybe a spray bottle tucked under your arm.
You Might Also Be Interested In:
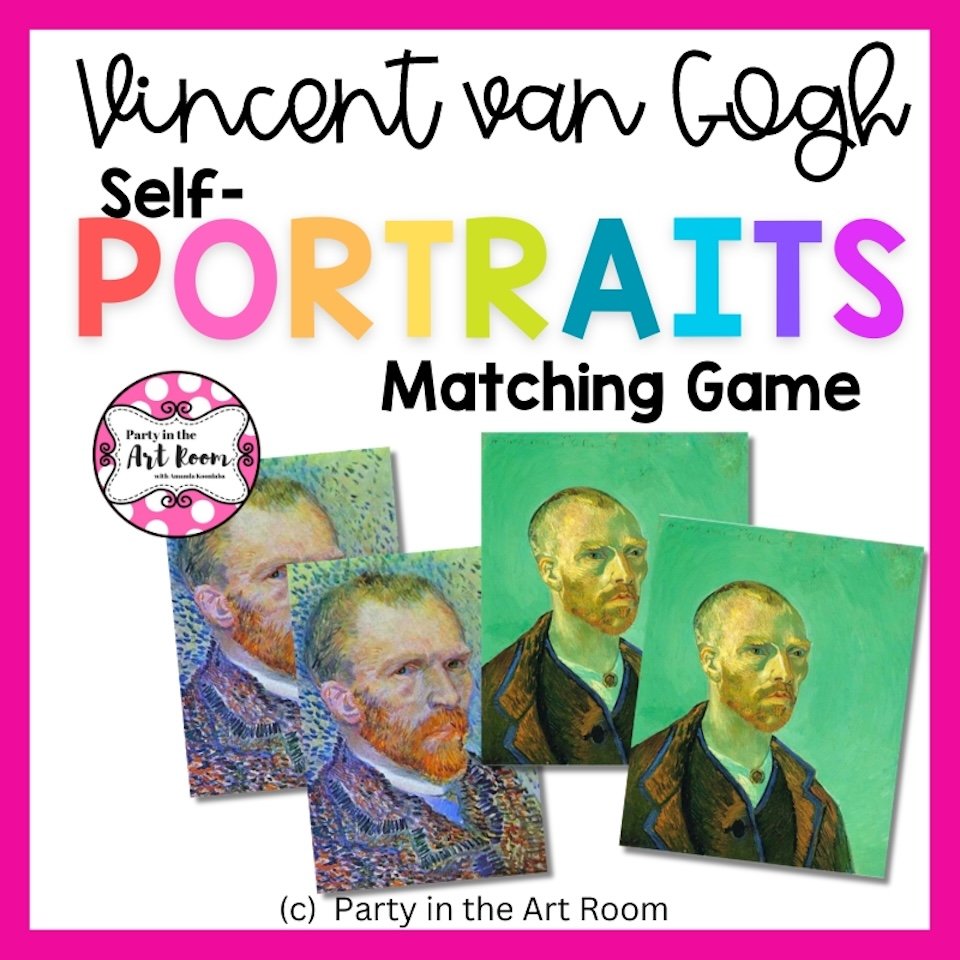
Inside this free PDF, you'll find a treasure trove of van Gogh's self-portraits, each capturing the essence of the artist's unique style and introspection. From his early works to his later masterpieces, this collection showcases the evolution of van Gogh's self-representation throughout his remarkable career.
As students pair the self-portraits, they will develop visual recognition skills, explore color and brushstroke techniques, and gain a deeper understanding of van Gogh's artistic journey.

Check out discounts, deals, and recommendations on all our artsy faves!
Affiliate Disclosure: Party in the Art Room is supported by its audience. When you purchase through links on this site, a commission may be earned.
Get to know Amanda Koonlaba!
Hi! I’m Amanda. Teaching children to be creative thinkers is my greatest joy. I’m here to help you bring that same joy to your classroom.

This guide is packed with 25 ideas for using art to teach math and ELA. It’s arts integration for the win!

I want all students to feel successful in the art room, so I created a standards-based Daffodil Collage lesson to do just that! The lesson includes an artist study, student reflection, and more, so push your artists to their full potential.


Are you planning an abstract art lesson inspired by Paul Klee? Are your students going to create abstract portraits? Here’s an engaging and vibrant lesson to enhance your curriculum! This resource is an ideal addition to your elementary art plans, bringing creativity and excitement to your classroom.